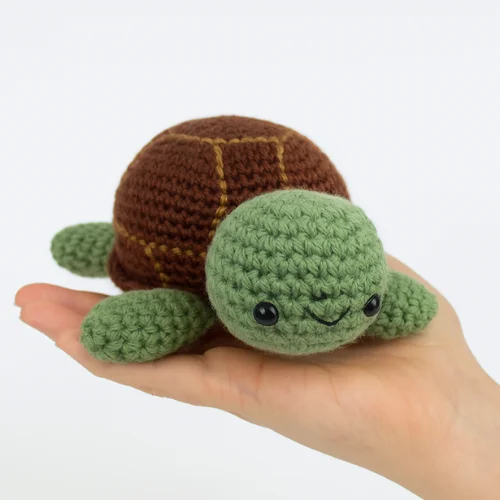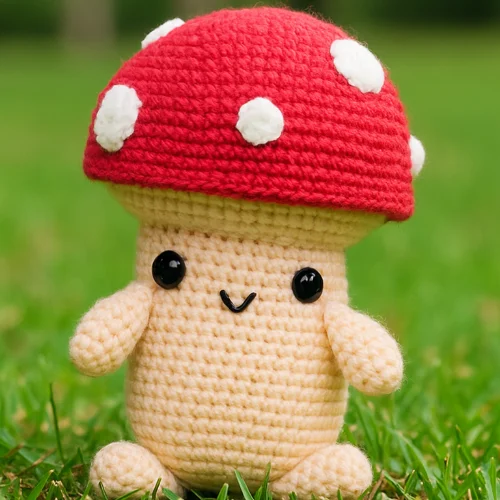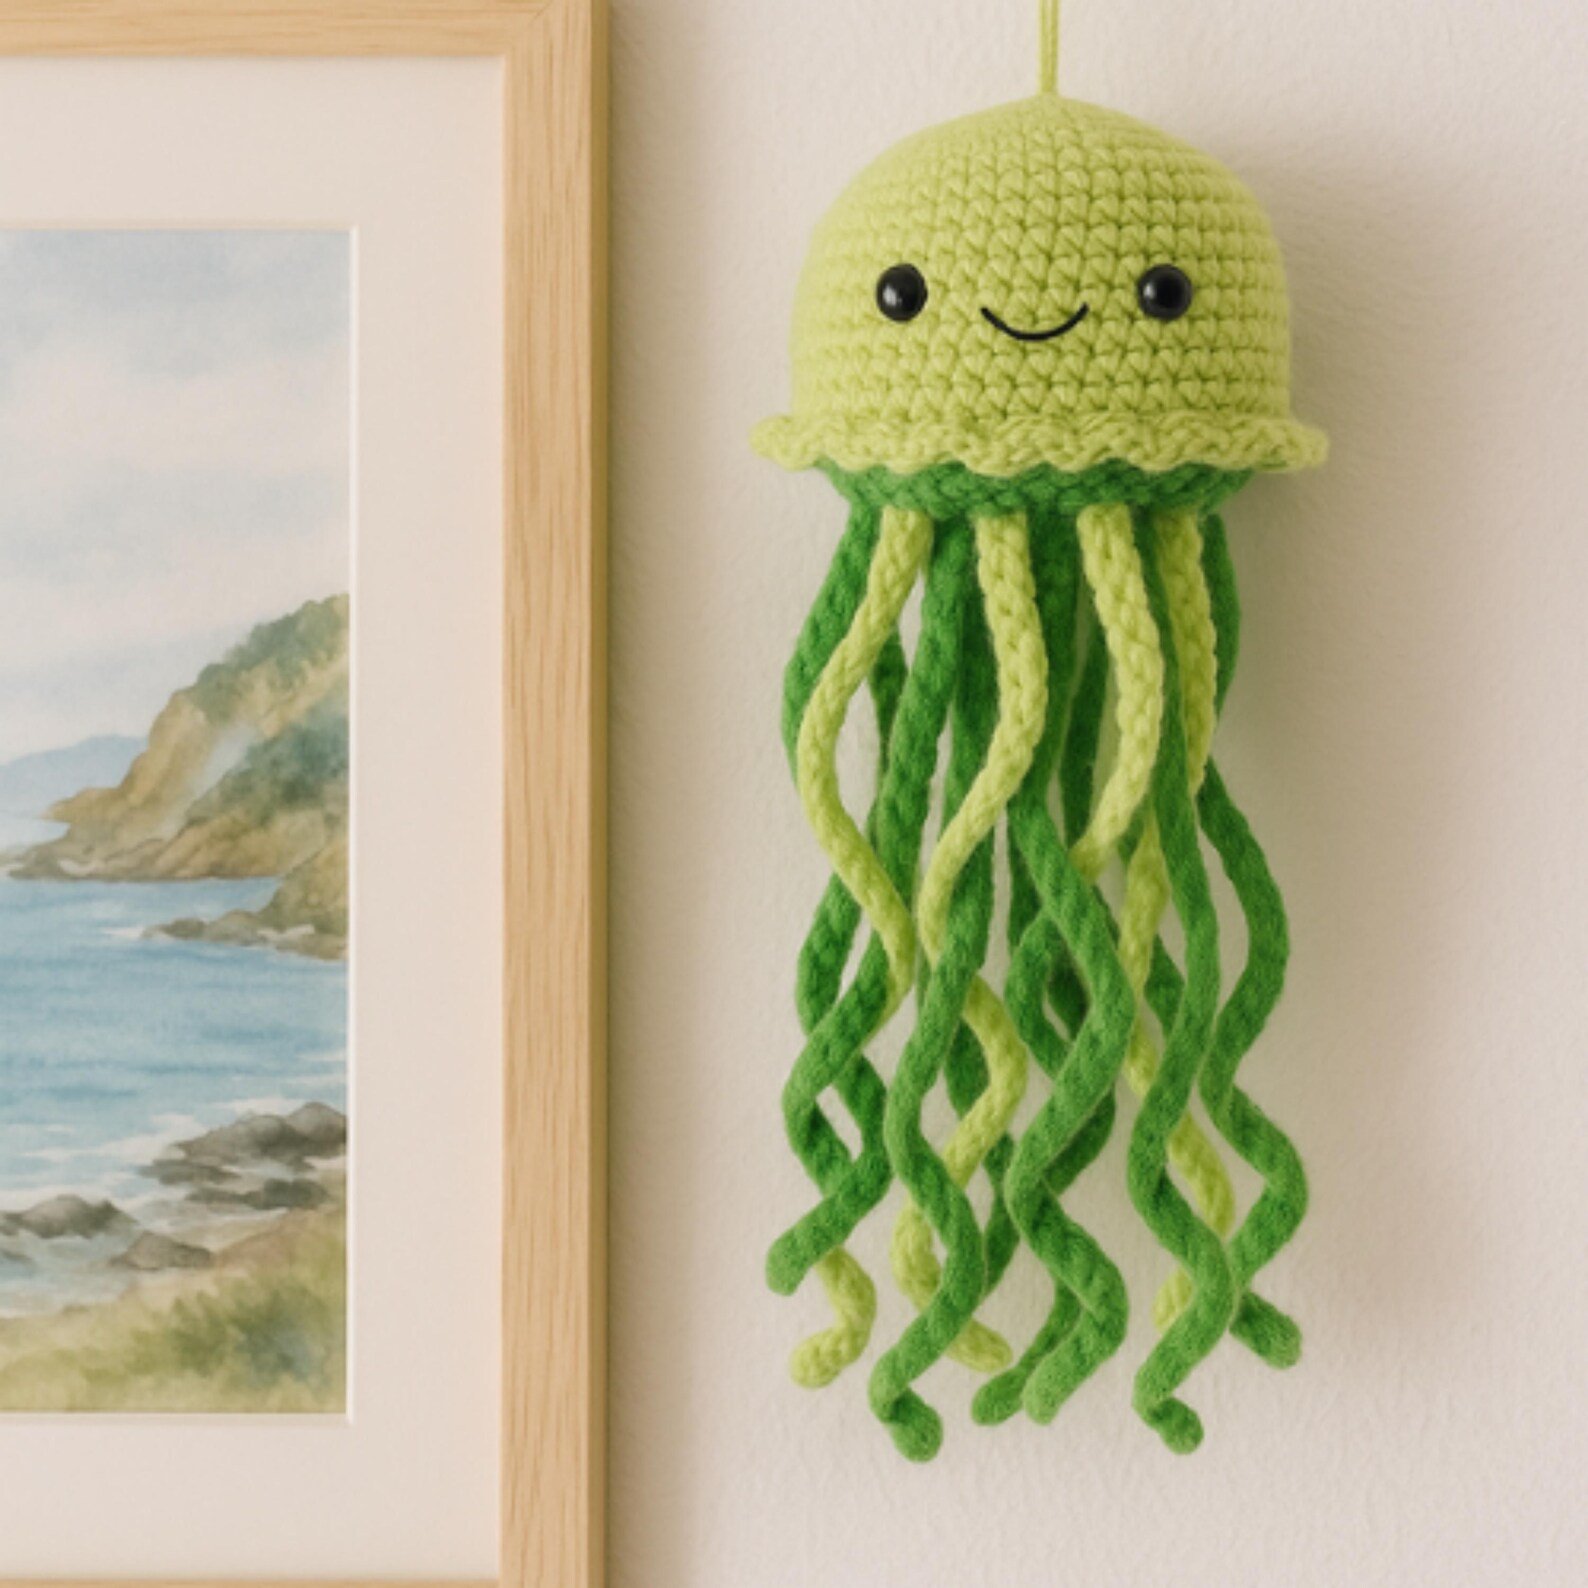
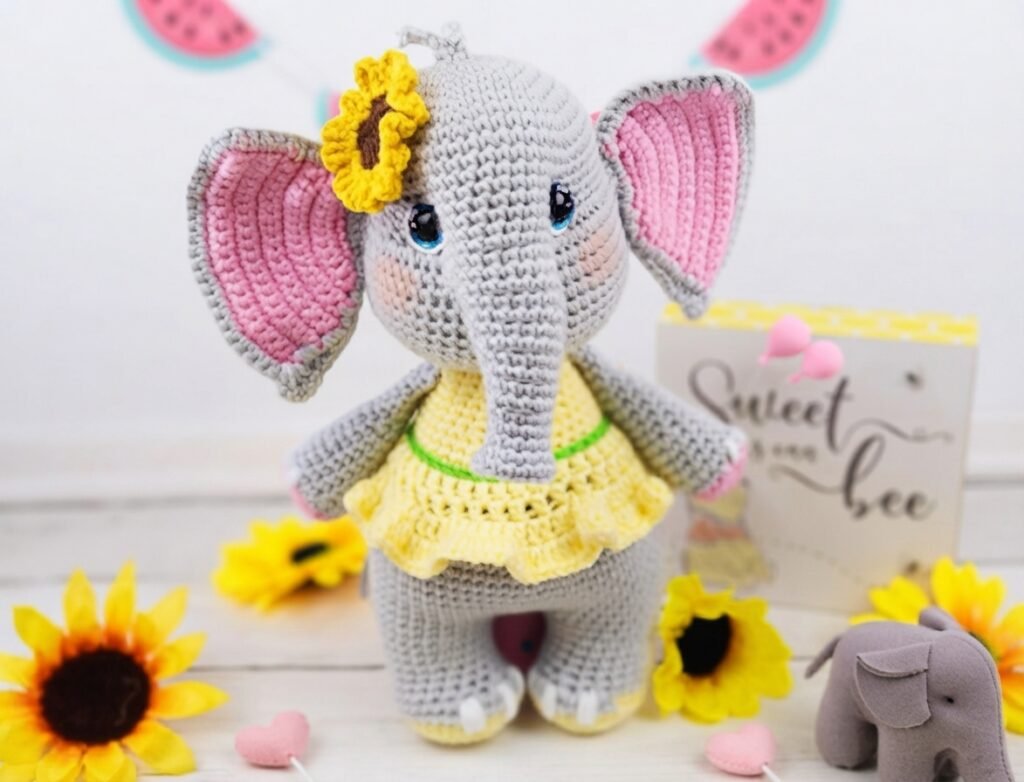
Bring a touch of sunshine to your craft room with the this Free Elephant Crochet Pattern! This adorable amigurumi project features step-by-step instructions to help you create your very own charming elephant complete with sweet details, making it a wonderful handmade gift or a delightful addition to your collection.
Pattern Details
Pattern Details
Size:
Thirteen inches from the top of the head to the bottom of the tentacle, using 4 yarn and a 3.25 mm hook.
Skill Level Needed:
This Free Elephant Crochet Pattern is intermediate and suitable for novice crocheters. However, it requires patience and precision when assembling the elephant and mastering basic crochet skills.
Materials Needed:
Yarn: Worsted Weight #4, approximately 100 g of main color and 50–75 g of accent colors. Color A: Gray, Color B: Yellow, Color C: Green, Color D: Dark Yellow, Color E: Brown, Color F: Pink. Hook Size: D Hook or 3.25 mm. 18 mm safety eyes. Scissors, sewing needle, stitch marker, fiberfill stuffing. Black embroidery thread. Additionally, this is for the Free Elephant Crochet Pattern.
Abbreviations:
- Mr magic ring- crochet single crochet stitches in to the adjustable loop
- BLO= back loops only
- ch chain stitch
- F/O Fasten off
- sc= single crochet stitch
- hdc= half double crochet
- slip slip stitch FLO= front loops only
- dc double crochet stitch dc-inc double crochet increase
- inc increase- make two single crochet stitches in the same stitch
- decrease crochet two stitches together using the decrease method
- (4 sc, inc) x 6= repeat the pattern between parentheses 6 times
Notes:
- Do not join rounds unless stated, work in a continuous spiral
- Use a stitch marker to mark the beginning of each round
- All stitches are worked in both loops unless stated otherwise in the pattern
Head:
Additionally, it is crocheted from the top of the head to the bottom using Color A.
- Make 6 sc into a magic ring 6
- Increase in each st around 12
- (sc, inc) x 6= 18
- (2 sc, inc) x 6= 24
- (3 sc, inc) x 6= 30
- (4 sc, inc) x 6= 36
- (5 sc, inc) x 6= 42
- (6 sc, inc) x 6= 48
9-14. sc in each st around
Mark the first and last increase of round 15 with a stitch marker - 12 sc, inc x 6, 24 sc, inc x 6= 60
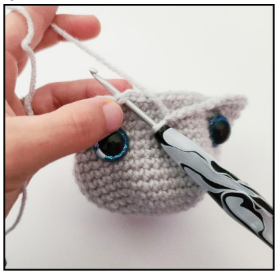
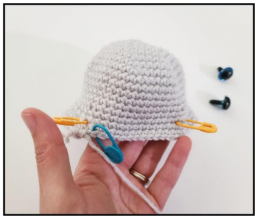
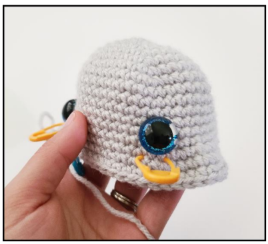
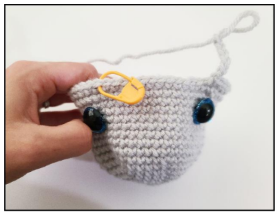
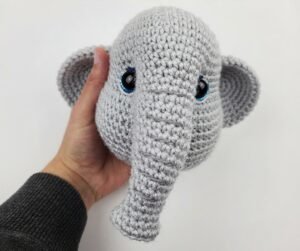
Place eyes between rounds 13 and 14 over the stitch marked increases. They will be 13 holes apart from each other.
- sc in each st around
- Skip 12 sc, ch 6, sc in remaining stitches 54
Head Continued:
- 18-20. sc in each st around
- dec x 3, 26 sc, dec x 3, 4 sc= 48
- sc in each st around
- (6 sc, dec) x 6= 42
- (5 sc, dec) x 6= 36
- (4 sc, dec) x 6= 30
TIP! You may have to adjust the eye placement depending on yarn and hook size you use.
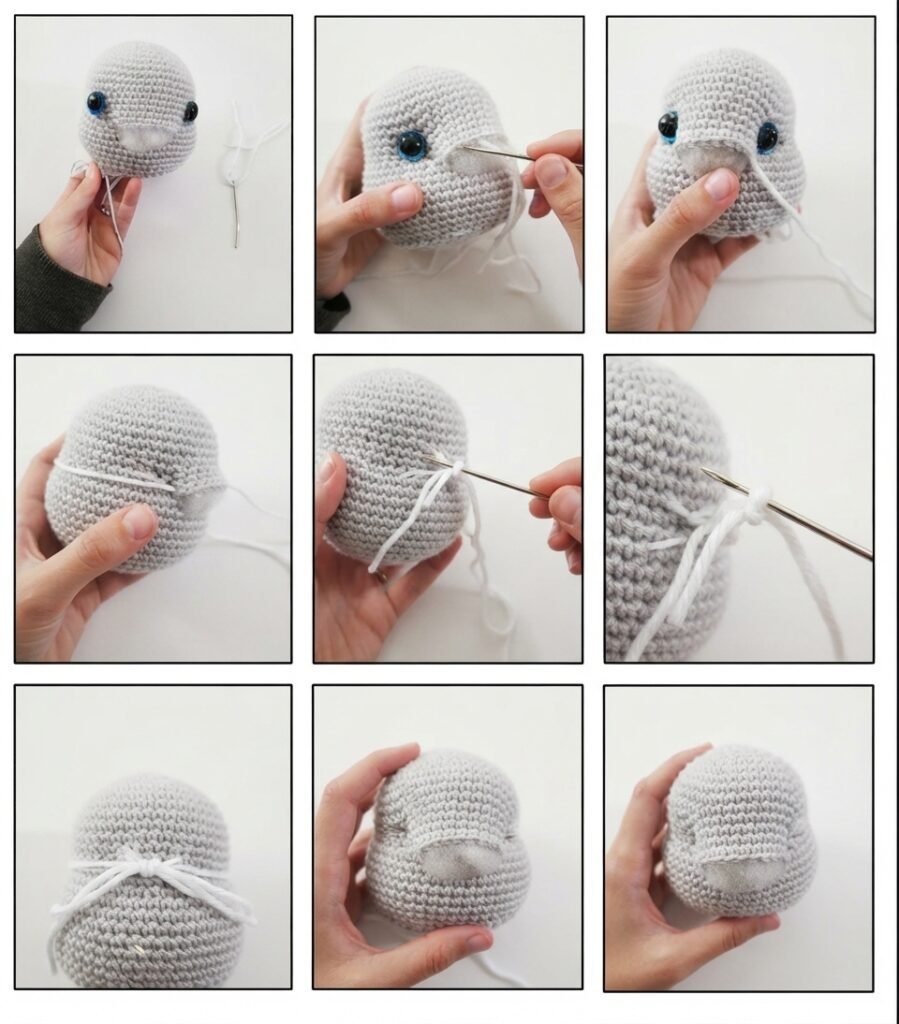
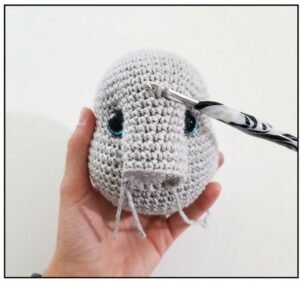
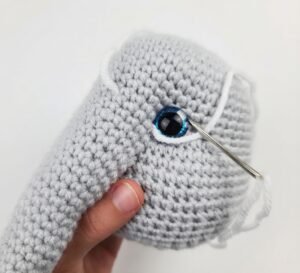
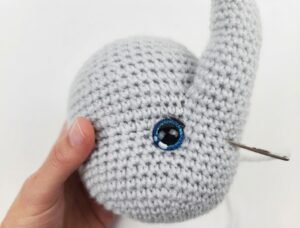
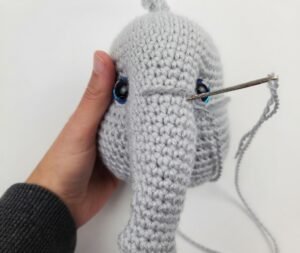
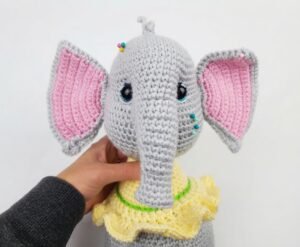
Stuff the head well. Cut a long piece of yarn and remove the eyes. Place the needle in the hole where the first eye was and thread the needle into a hole next to the eye hole. Go back and forth between each eye hole, repeating the process from the first eye. Pull the yarn slightly after going through each hole. Do this about three times on each side until you reach the look you want. Follow the pictures for help.
Place the backs of the eyes. Additionally, you may need to remove some of the stuffing the place the backs of the eyes on. Follow pictures on the next page for help.
- (3 sc, dec) x 6= 24
- (2 sc, dec) x 6= 18
F/O
Trunk:
Next, with the head toward you, attach Color A yarn to the left corner stitch with a slip stitch.
1-2. sc in each st around 18
- Dec, 16 sc= 17
- sc in each st around
- Dec, 15 sc= 16
- sc in each st around
- Dec, 14 sc= 15
- sc in each st around
Stuff the trunk as you work - Dec, 13 sc= 14
- sc in each st around
- Dec, 12 sc= 13
Stop stuffing the trunk - sc in each st around
- Dec, 11 sc= 12
- sc in each st around
- (3 sc, inc) x 3= 15
- sc in each st around
- BLO (3 sc, dec) x 3= 12
- Dec x 6= 6
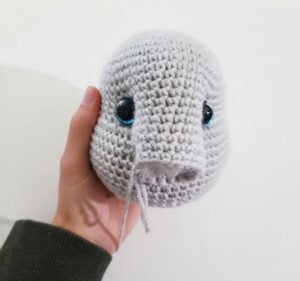
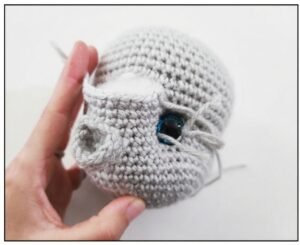
F/O and sew the trunk closed
Legs/Body:
Start on the legs with Color B.
Next, make 2 legs.
- Make 6 sc into a magic ring 6
- Increase in each st around 12
- (sc, inc) x 6= 18
- (2 sc, inc) x 6= 24
- (3 sc, inc) x 6= 30
- sc in each st around
Change to Color A: - sc in each st around
- dec x 6, 18 sc= 24
- 2 sc, dec, 9 sc, dec x 2, 7 sc= 21
10-11. sc in each st around
Start stuffing the legs - (6 sc, dec) x 3= 24
13-14. sc in each st around
Do not F/O the 2nd leg! Mark the 3rd.
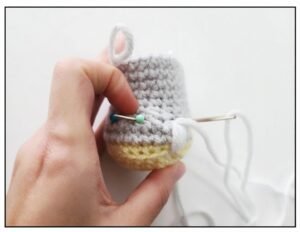
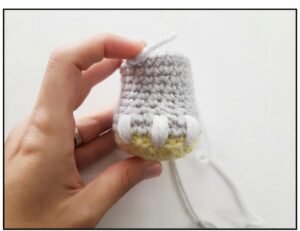
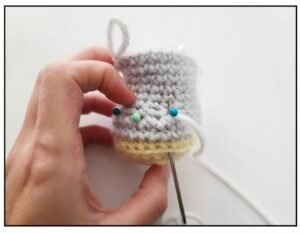
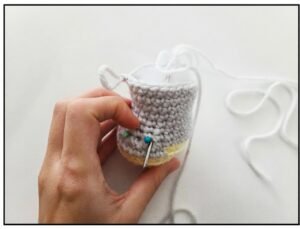
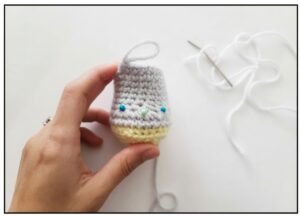
Do not F/O the second leg. Mark the third stitch on the first leg. Work three more sc on the second leg. Stop crocheting for a moment and let’s make the toes. It will be much easier to stitch the toes now than later.
Take a long thread of white yarn.
Next, mark 3 spots on the front of the foot between rounds 8 and 9.
Then place the pins one hole away from each other.
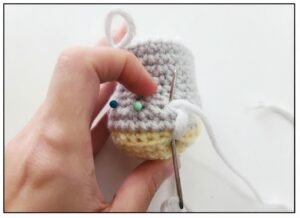
Additionally, insert the needle into the top of the leg and bring the needle down to one of the pins.
Then insert the needle into a hole on the bottom of the foot between rounds 5 and 6.
Finally, do this approximately 4 times in each marked spot to make 3 toes.
Weave in the tail ends.
Legs/Body Continued:
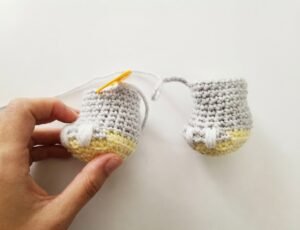
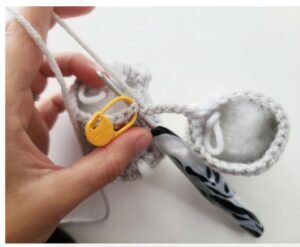
Ch 4 on the 2nd leg.
Connecting the legs:
- work a sc into the first leg to connect, Work 23 sc around the 1st leg, work 4 sc on the back of the ch 4, work 24 sc on the 2nd leg, work 4 sc on the front of the ch 4= 56
Legs/Body Continued:
- sc in each st around
- (inc, 27 sc) x 2= 58
4-5. sc in each st around
Stuff the body as you work - (inc, 28 sc) x 2= 60
7-10. sc in each st around - (8 sc, dec) x 6= 54
- (7 sc, dec) x 6= 48
- sc in each st around
- (6 sc, dec) x 6= 42
15-17. sc in each st around
Change to Color B: - (5 sc, dec) x 6= 36
- BLO sc in each st around
20-21. sc in each st around - (4 sc, dec) x 6= 30
23-24. sc in each st around - (3 sc, dec) x 6= 24
26-27. sc in each st around - (2 sc, dec) x 6= 18
F/O and leave a long tail for sewing
Skirt:
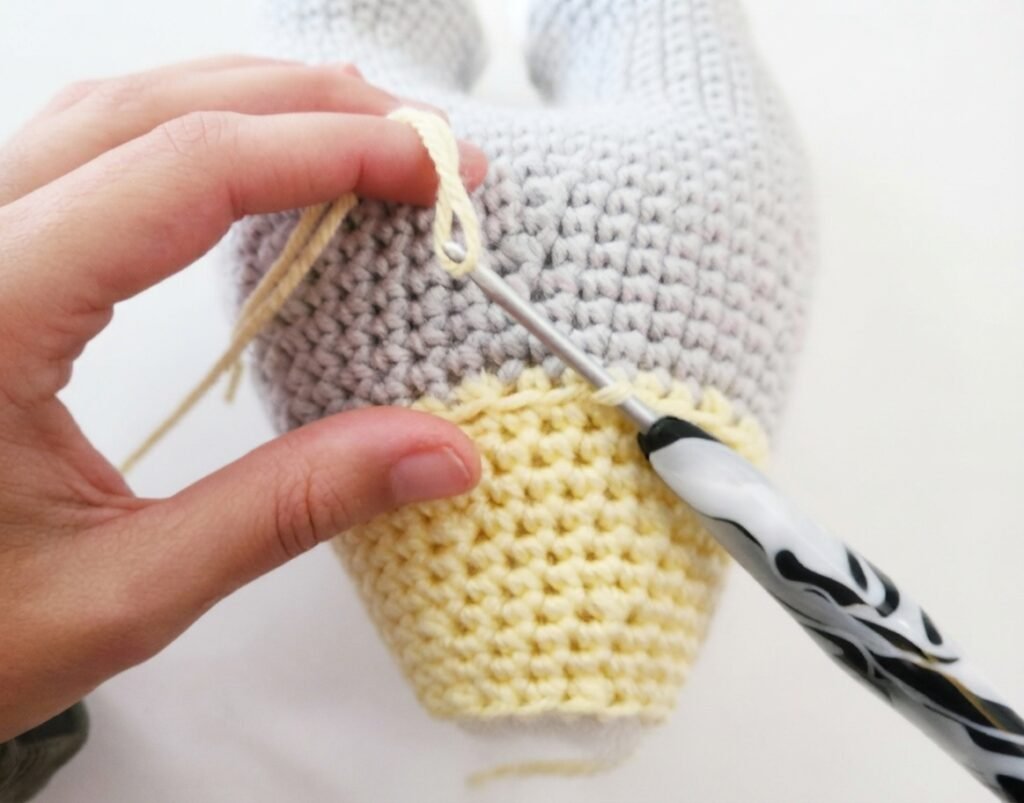
with the back facing you, attach Color B yarn to the center stitch with a sl st
- Ch 3, dc in each st around, sl st to top of ch 3 to join 36
- Repeat round 1
- Ch 3, dc-inc around, sl to top of ch 3 to join 76
- Ch 3, dc-inc around, sl st to top of ch 3 to join
F/O and weave in the ends
Tail:
With Color A:Ch 16
- Hdc in 2nd ch from hook and across F/O and leave a long tail for sewing
Sunflower:
Starting with Color E:
- Work 13 dc into a magic ring, sl st to 1st dc to join
Change to Color D: - (Ch 3, tr, ch 3, sl) in same dc, (sl, ch 3, tr, ch 3, sl) in next 12 stitches
F/O and leave a long tail for sewing
Arms(Make 2):
Starting with Color F:
- Make 6 sc into a magic ring 6
- Increase in each st around 12
- (sc, inc) x 6= 18
- BLO sc in each st around
Change to Color A:
- (4 sc, dec) x 3= 15
- 6-8. sc in each st around
Start stuffing the arms
- (3 sc, dec) x 3= 12
10-12. sc in each st around
Stop stuffing the arms
- (2 sc, dec) x 3= 9
14-19. sc in each st around
Fold the arms in half and sew the opening closed, and leave a long tail for sewing.
Ears(Make 2 in Color A, 2 in Color F):
Ch 9
- sc in 2nd ch from hook and across 8
- Ch 1, turn, (inc, sc) x 4= 12
- Ch 1, turn, sc across
- Ch 1, turn, (inc, 2 sc) x 4= 16
5-6. Ch 1, turn, sc across - Ch 1, turn, (inc, 3 sc) x 4= 20
8-10. Ch 1, turn, sc across - Ch 1, turn, (inc, 4 sc) x 4= 24
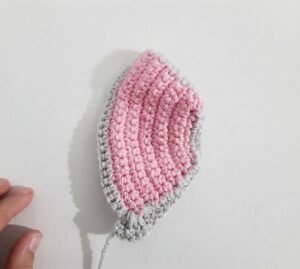
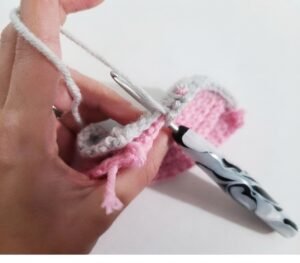
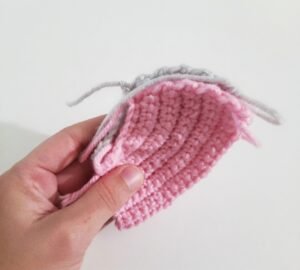
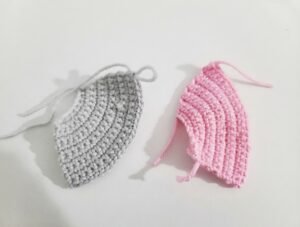
Do not F/O the Color A ears! Place the backside of each ear together. Starting at a corner of the ear, sc around the edges. When you get back to the corner, ch 3, 5 dc in the same st, sl st to F/O and leave a long tail for sewing
Assembly
Head and Body:
- Thread a needle with a long strand of white yarn. Insert the needle into a hole on the trunk. Bring the needle to a lower corner of the eye. Wrap the yarn around the eye to a corner on top of the eye. Repeat for the 2nd eye. This creates a highlight.
- Cut a long strand of darker gray yarn. Embroider some lines on the trunk if you would like.
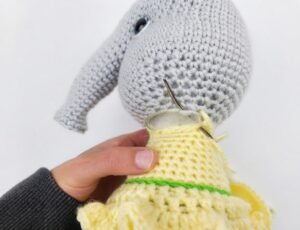
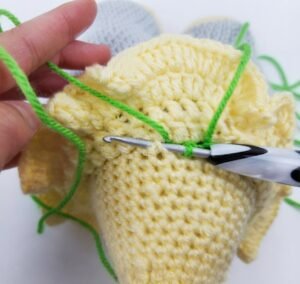
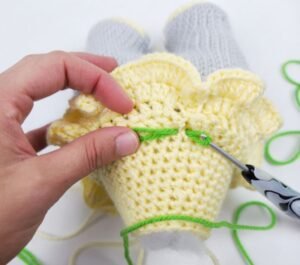
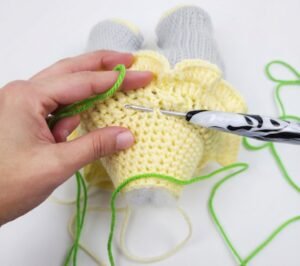
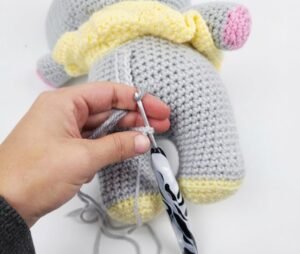
- Attach some green yarn on the back of the body above the skirt. Sl st around the waist. F/O and weave in the tail ends.
- Sew the head to the body.
Ears:
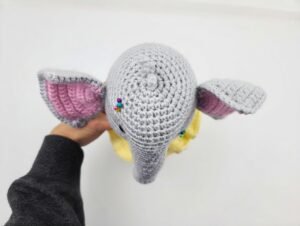
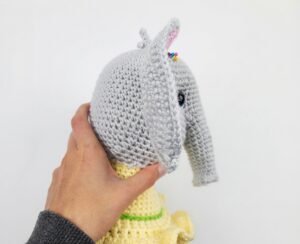
- Pin the ears onto the side of the head. I do not have exact placements for these. I try to judge where they look best.
- Sew the ears onto the head.
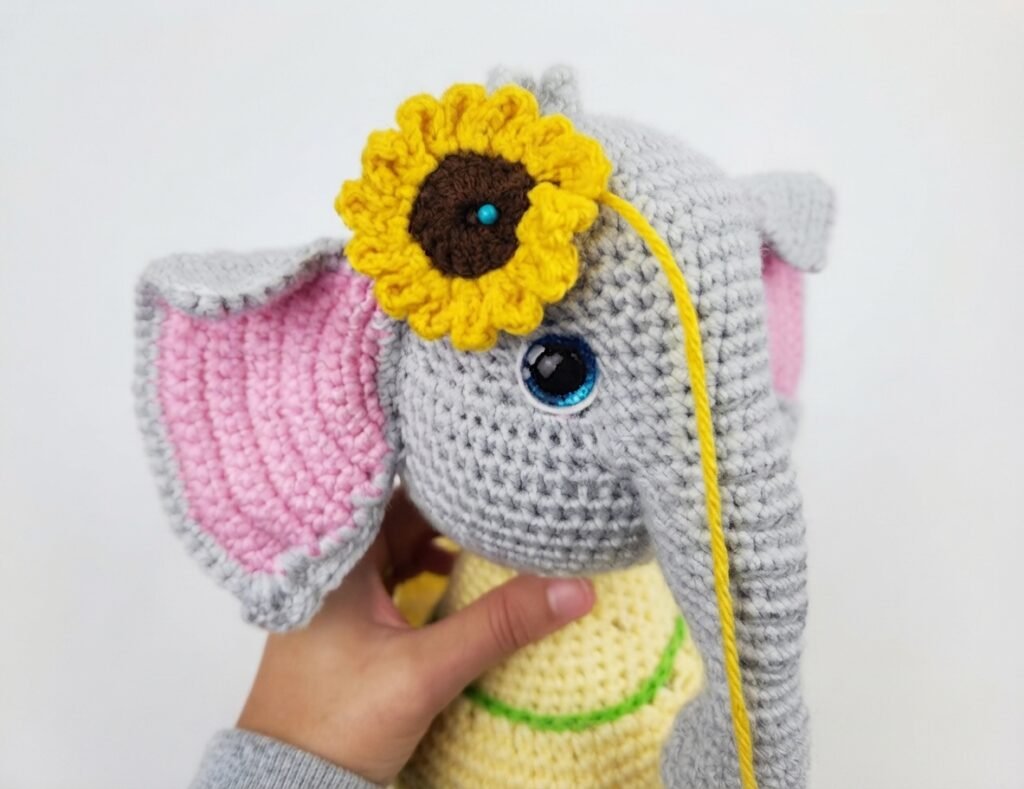
Sunflower:
- Pin the sunflower onto the side of the head in front of the ear.
- Sew the sunflower onto the head.
Arms:
- Embroider some toes onto the arms like you did for the feet.
- Pin the arms onto the side of the body approximately between rounds 26 and 27.
- Sew the arms onto the body.
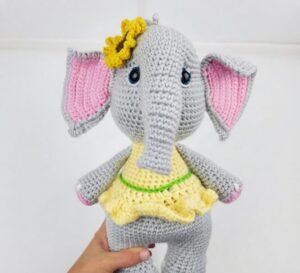
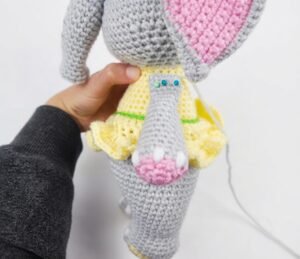
Tail:
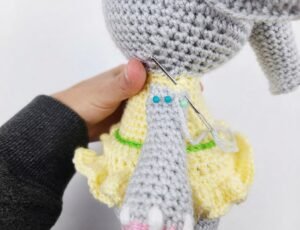
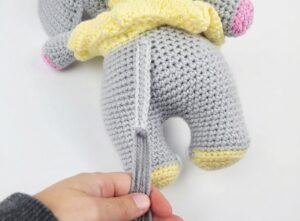
- Pin the tail onto the back of the body underneath the skirt.
- Sew the tail onto the body.
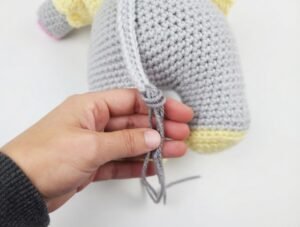
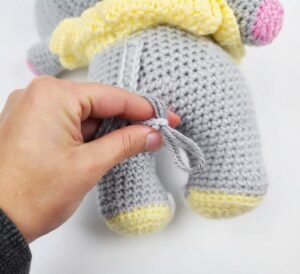
- Cut 4-6 strands of dark gray yarn. Double strand the yarn and attach the yarn to the tip of the
tail. - Cut the strands to be even if needed.
Cheeks:
With Crayons or actual blush. Add some pink to the cheeks
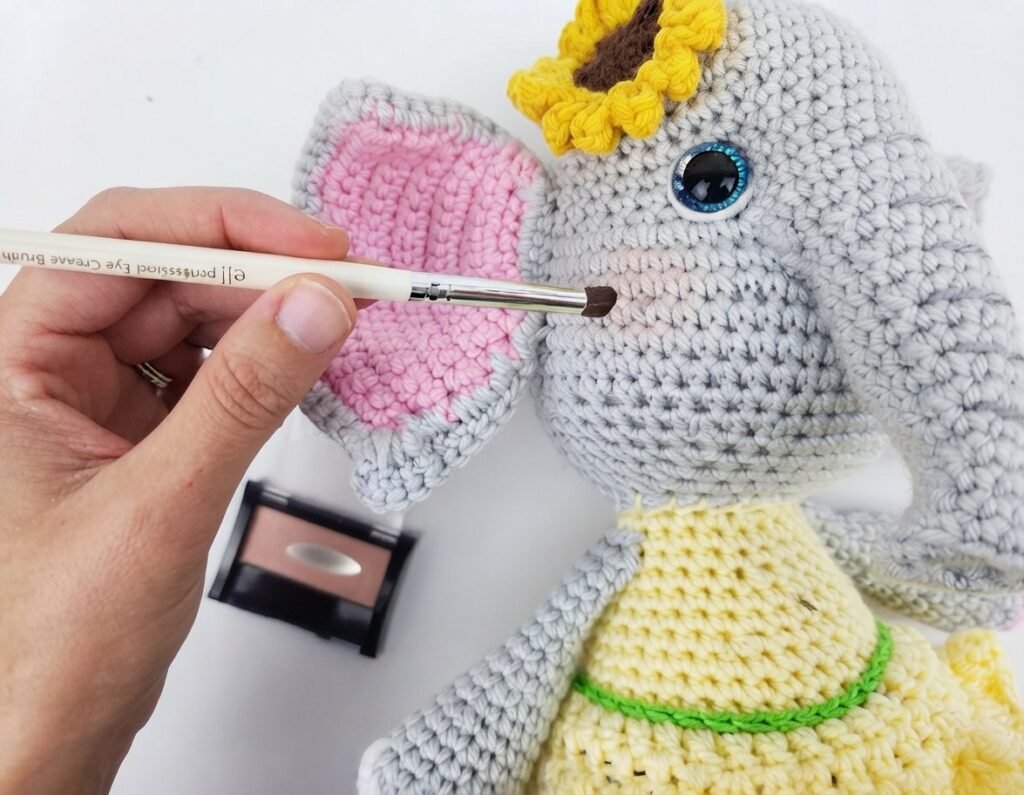
You now have your finished elephant!
Helpful Tips:
Exact Colors and Brand of Yarn Used:
- Gray: I love this yarn gray mist
- Yellow: Red Heart Daffodil
- Green: Red Heart Spring Green
- Pink: I love this yarn Pink
You can use different eye and nose sizes. You might have to adjust the placements if you the sizes.
You can use different hook sizes and weights of yarn. It will just change the size of your elephant and you might need to adjust eye placement.
How you stuff matters! The type of stuffing you use, how you stuff, all this matters on how yourelephant turns out. I prefer Polyfil stuffing but you can use other types.
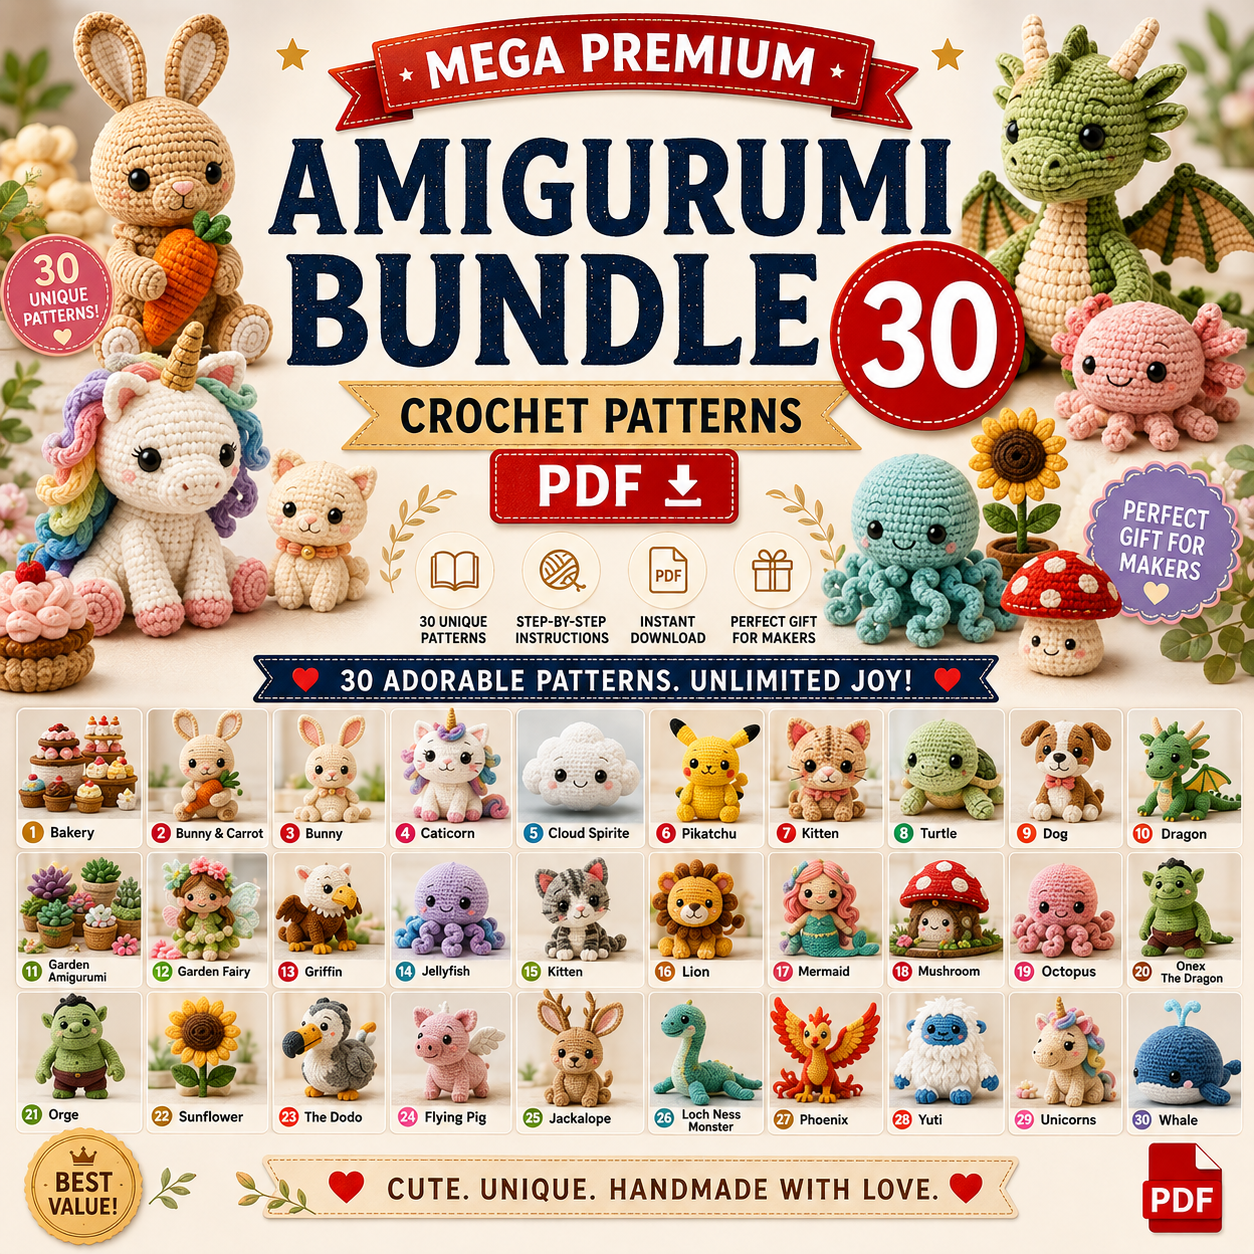
Unlock Unlimited Cuteness: 30 Adorable Amigurumi Patterns Just for You!
- Value: Get 30 premium PDF patterns for one incredibly low price.
- Variety: Includes creatures and critters for every skill level.
- Easy: Step-by-step instructions and photo tutorials make crocheting a breeze.
- Gifts: Create perfect, personalized handmade gifts.
- Community: Join a global community of fellow crafters.