
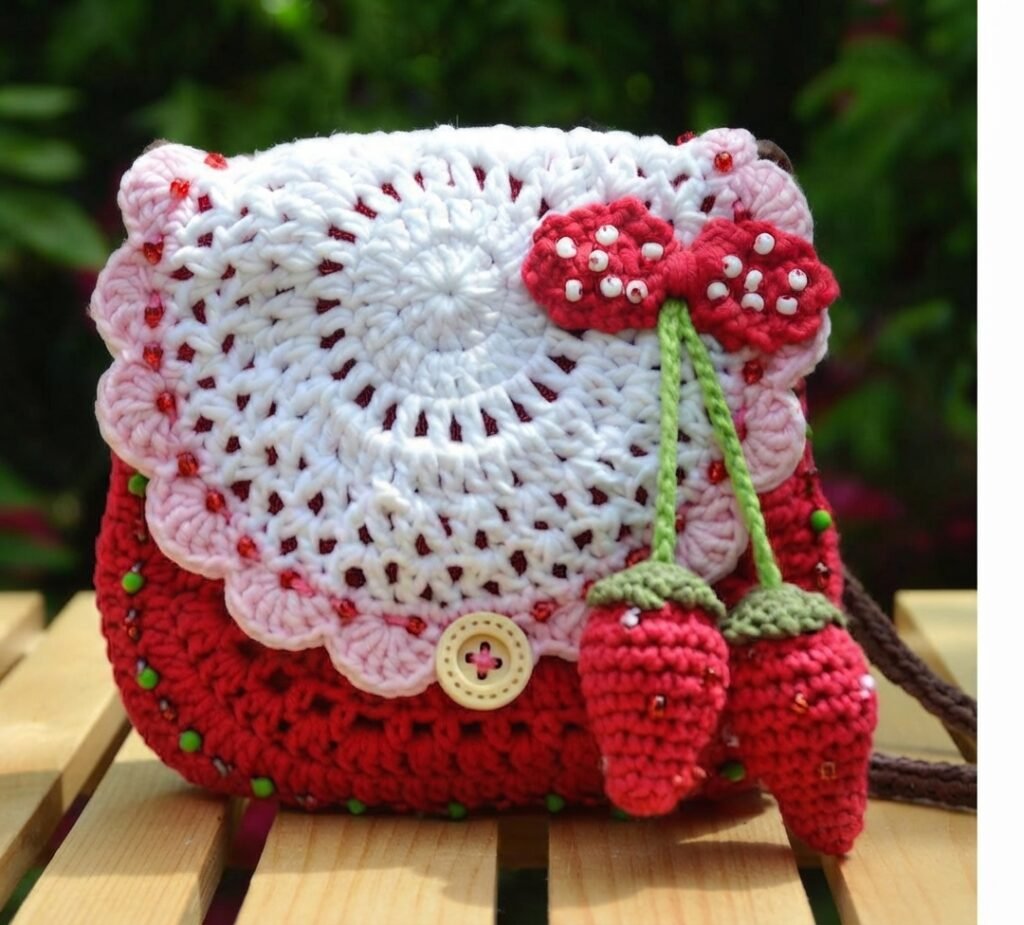
If you’re looking for a cute, practical, and beginner-friendly crochet project, this strawberry purse is the perfect choice. Combining charm and functionality, this adorable accessory features a sweet strawberry-inspired design with delicate details that make it stand out. Whether you want to create a unique handmade gift or add a playful touch to your own style, this crochet pattern will guide you step by step.
In this tutorial, you’ll learn how to crochet a beautiful strawberry purse using simple stitches and easy techniques. The pattern is designed to be accessible for beginners while still enjoyable for more experienced crocheters. Plus, it’s completely free—so you can start crafting right away and bring this delightful project to life.
What do you need:
- fine/ sport/ 12 wpi yarn/ 12 ply
- hook 3 mm (US C or D)
- hook 3.5 mm (US 4/E)
- tapestry needle
- common sewing threads and needle
- one wooden button average 1.8 cm /0.7 inches
- small amount of toy filling
- mix of beads e.g. Toho beads – 4 mm in diameter / beads size 6/0 I used white, light pink and red glass beads and green wooden beads of same size
I used this yarn:
Kacenka by Nitarna Ceska Trebova. It is mixture of 60% cotton 40% acrylic, Yarn weight: Sport / 5 ply (12 wpi) Yardage: 164 yards (150 meters) per 50g ball.
I used a hook 3 mm
I used these colors: 3374 red – about 45 g, 0010 white – about 8 grams, small amount of
3324 light pink, 7994 brown, 6124 hot green and 6954 dark green and very small amount of 3334 hot pink. You will need about 61 grams / 200 yards of yarn totally.
Tip:
Tip for alternative material. You could use e.g. Jeans by Yarnart, Softfun by Scheepjeswool, Cotton Blend by Red heart and another of your favorite yarn with similar gauge.
Measurement of finished purse: height 15 cm (6 inches), width 15 cm (6 inches). Please remember, that the size of finished bag depends on used material and your own style of crocheting.
Needed skills: INTERMEDIATE
Abbreviations used – US terminology:
- Chain (CH)
- Slip stitch (SlSt)
- Single crochet (SC)
- Half double crochet (HDC)
- Double crochet (DC)
- Increasing (inc): 2 stitches in same stitch
- Decreasing (dec): crochet 2 stitches together
- [ ] …x times = repeat instructions in in brackets … times
Instruction:
Main part of the purse
You will crochet all parts of the purse separately. You will sew or crochet them together then.
Please follow the instruction. Crochet in the circle rounds, don’t turn the work.
Beginning: use red yarn and crochet: CH 4, join first stitch with 1 Slip stitch to form a ring.
Round 1: CH 3 (count as first DC), 11 DC in the middle of the ring, join first DC with 1 SlSt (you will have 12 DC totally)
Round 2: CH 3 (count as first DC), 1 DC in very first stitch, [inc of DC] – repeat 11 times totally, join first DC with 1 SlSt (you will have 24 DC)
Round 3: CH 3 (count as first DC), [CH 1, 1 DC in next stitch] repeat the group in brackets tothe end of the round (you will repeat it 23 times totally). Join first DC with 1 SlSt (you will have 24 DC and 24 CH-spaces totally)
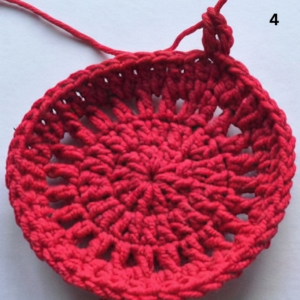
Round 4: CH 3 (count as first DC), 1 DC in very first CH-space from previous round. 2 DC in every CH-space from previous round, repeat to the end of the round (you will repeat it 23 times totally). Join first DC with 1 SlSt (you will have 48 DC totally)
Round 5: CH 3 (count as first DC), 1 DC in very first stitch (picture bellow), now you will make [1 DC in next stitch, inc of DC in next stitch] – repeat this group in brackets 23 times totally, 1 DC in next stitch, join first DC with 1 SlSt, end the work (72 DC).
Round 6: CH 3 (count as first DC) + CH 1, [skip one stitch, 1 DC in next stitch + CH 1]
- repeat the group in the brackets to the end of the round (you will repeat it 35 times totally).
Join first stitch of the round with 1 SlSt (you will have 36 DC and 36 CH-spaces).
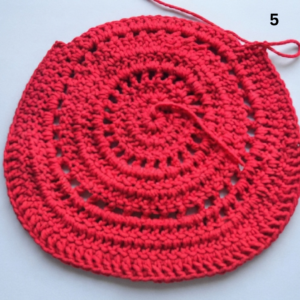
Round 7: CH 3 (count as first DC), 1 DC in first CH-space from previous round, 2 DC in next two CH-spaces from previous round, 3 DC in next CH-space from previous round, [2 DC in next three CH-spaces, 3 DC in next CH-space] – repeat the group in the brackets 8 times totally, join first stitch of the round with 1 SlSt (you will have 81 stitches).
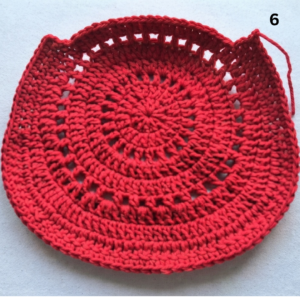
Round 8: CH 1 – just a helper, don’t count it, 1 SC in next 12 stitches from previous round, 1 HDC in next stitch, 1 DC in next 4 stitches, [inc of DC] – repeat 6 times totally, 1 DC in next13 stitches, [inc of DC] – repeat 6 times totally, 1 DC in next 4 stitches, 1 HDC in next stitch, 1 SC in next 12 stitches (you will have 71 stitches). There will left 22 stitches, you will not crochet into them. CH 1 for turning the work, turn.
Round 9: 1 SC in next 12 stitches, 1 HDC in next stitch, 1 DC in next 45 stitches, 1 HDC in next stitch, 1 SC in next 12 stitches (you will have 71 stitches totally), CH 1 for turning the work, turn.
Round 10: 1 SC in each stitch from previous round (you will have 71 SC totally), end the work
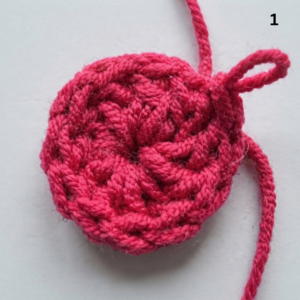
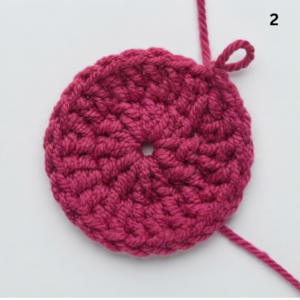
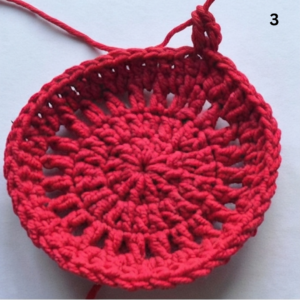
Note:
Make this part of the purse one time again.
Join both parts together:
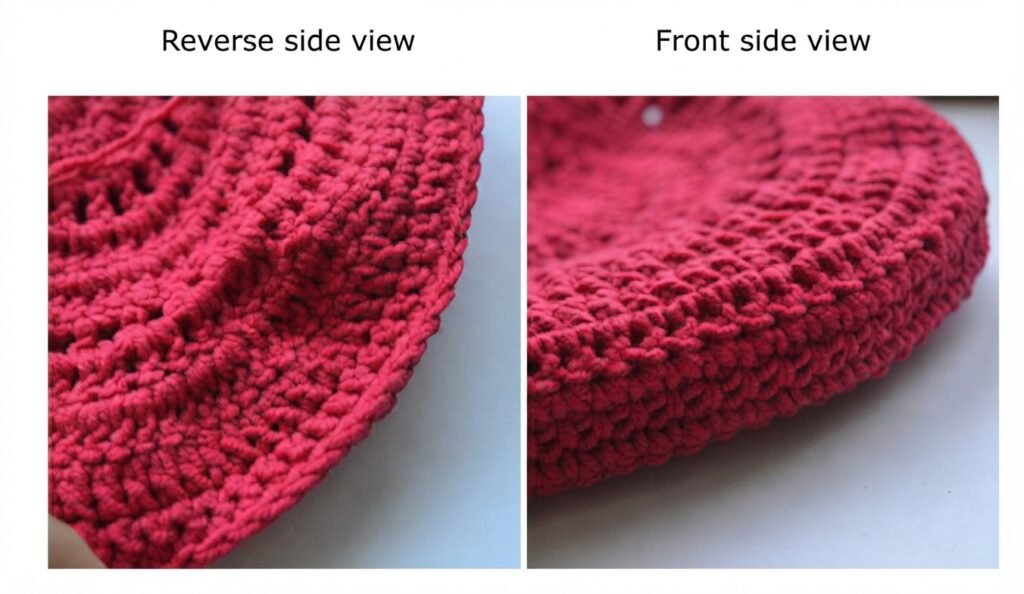
You have two same parts, which you place by the right sides to each other and crochet them together. You could also sew them, but I would rather crochet them together. You will crochet on the reserve side. Use red yarn and crochet one row of SC (71 SC), as you see on the picture below, don’t cut the yarn, you will continuously crochet the upper brim. Turn the purse into the right side.
Upper brim of purse:
Use red yarn and crochet in the circle rounds.
Round 1: CH 1 as a helper, don’t count it and continue 1 SC in next 3 stitches on the side, 1 SC in next 22 stitches in the middle part of first part, 1 SC in next 3 stitches on the side of first part, 1 SC in the middle stitch from crocheting of both parts, 1 SC in next 3 stitches on the side of second part, 1 SC in next 22 stitches in the middle part of second piece,1 SC in next 3 stitches on the side, join first stitch of the round with 1 SlSt (you will have 58 SC
totally).
Round 2: CH 1 as a helper, don’t count it, 1 SC in every stitch from previous round (58 SC), join first stitch of the round with 1 SlSt.
Round 3: 1 SlSt in every stitch from previous round (58 SlSt), end the work. Neaten free threads.
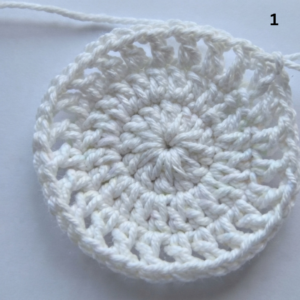
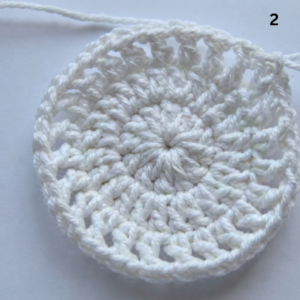
Flap
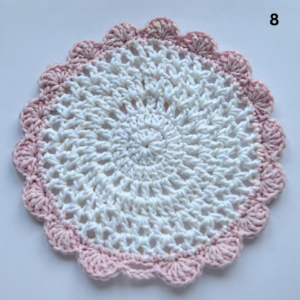
Beginning: use white yarn and crochet CH 4, join first stitch with 1 Slip stitch to form a ring.
Round 1: CH 3 (count as first DC), 11 DC in the middle of the ring, join first DC with 1 SlSt (you will have 12 DC totally)
Round 2: CH 3 (count as first DC), 1 DC in very first stitch, [inc of DC] – repeat 11 times totally, join first DC with 1 SlSt (you will have 24 DC)
Round 3: CH 3 (count as first DC), [CH 1, 1 DC in next stitch] repeat the group in brackets to the end of the round (you will repeat it 23 times totally). Join first DC with 1 SlSt (you will have 24 DC and 24 CH-spaces totally)
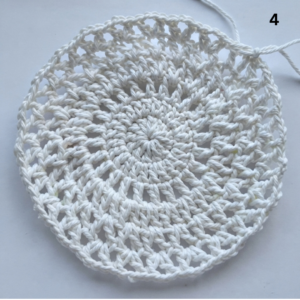
Round 4: CH 3 (count as first DC) + CH 1, 1 DC in very first CH-space from previous round, [1 DC + 1 CH + 1 DC] in every CH-space from previous round, repeat to the end of the round (you will repeat it 23 times totally). Join first DC with 1 SlSt (you will have 24 groups of [1 DC 1 CH + 1 DC] totally)
Round 5: CH 3 (count as first DC) + CH 1, 1 DC in very first CH-space from previous round, [1 DC + 1 CH + 1 DC] in every CH-space from previous round, repeat to the end of the round (you will repeat it 23 times totally). Join first DC with 1 SlSt (you will have 24 groups of [1 DC 1 CH + 1 DC] totally.
Round 6: CH 3 (count as first DC) + CH 2, 1 DC in very first CH-space from previous round, [1 DC + 2 CH + 1 DC] in every CH-space from previous round, repeat to the end of the round (you will repeat it 23 times totally). Join first DC with 1 SlSt. (You will have 24 groups of [1 DC + 2 CH + 1 DC] totally.
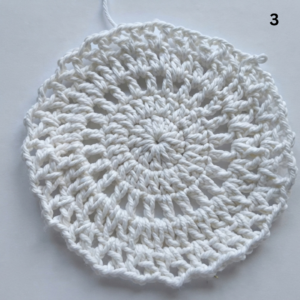
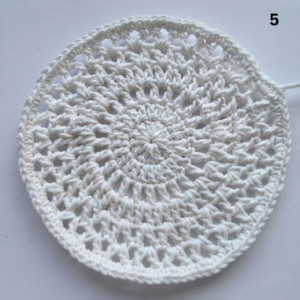
Round 7: CH 1 as a helper, [3 SC in each CH-space from previous round]. Join first SC with 1 SlSt (you will have 72 SC totally), end the work.
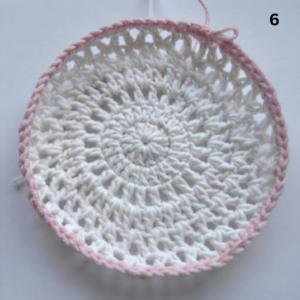
Round 8: change the color, use light pink yarn and crochet 1 SC in each stitch around. Join first SC with 1 SlSt (you will have 72 SC totally)
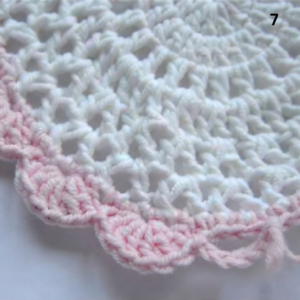
Round 8: continue with light pink yarn, CH 1 as a helper [skip one stitch, 5 DC in one stitch, skip one stitch, 1 SlSt in next stitch] – repeat it 8 times totally, CH 5, skip 3 stitches (make a button’s hole), 1 SlSt in next stitch, [skip one stitch, 5 DC in one stitch, skip one stitch, 1 SlSt in next stitch] – repeat it 9 times totally, join first stitch of the round with 1 SlSt, end the work.
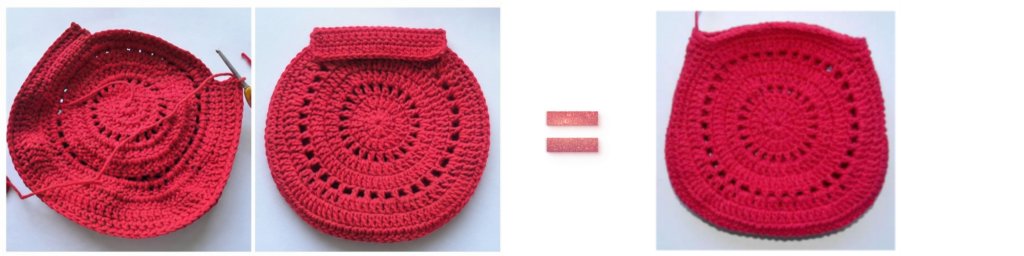
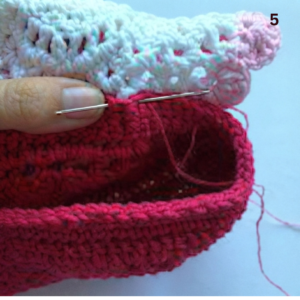
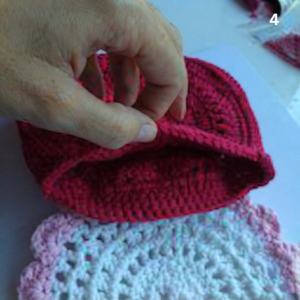
Neaten free threads of all parts of the purse nicely. Pin the upper part of the flap on the back side of the purse. Please remember, that the button hole, should be in the middle of the front side, so you should center it. Open the purse and sew the flap inside, as you see on the picture below. Use common sewing thread and needle.
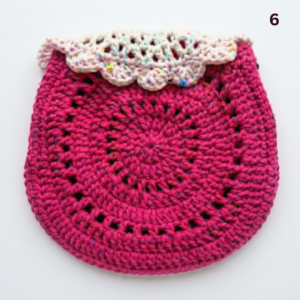
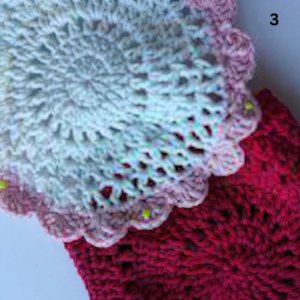
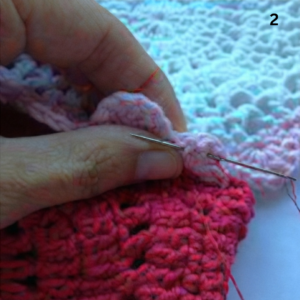
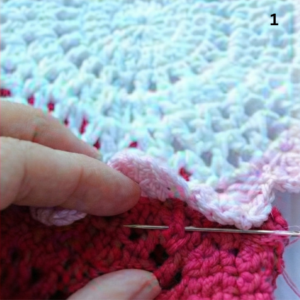
The flap is sewn already, but if you take a look on the back side part of the purse, you will see, that the rounded part – the scallops are still free. Sew the scallops to the main part of the purse too. Make tiny stitches.
Handle
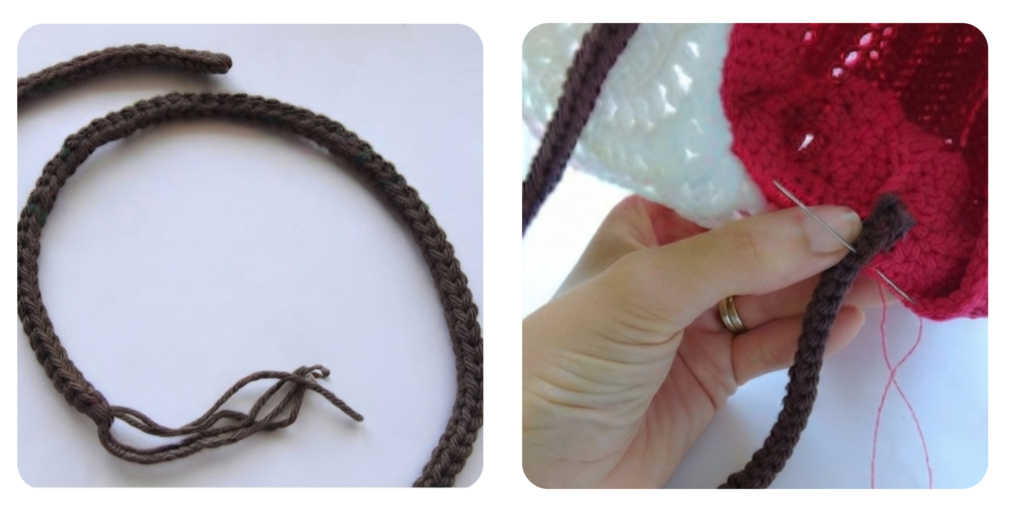
Adjust the length of the handle according to the age to the child. I made the cross body purse for 6 years old girl. Use brown yarn, hook 3.5 mm, two threads of yarn to the handle will be firmer and crochet CH 134, now you will make 1 SlSt in each CH, but you will insert a hook in side loop of the chains.
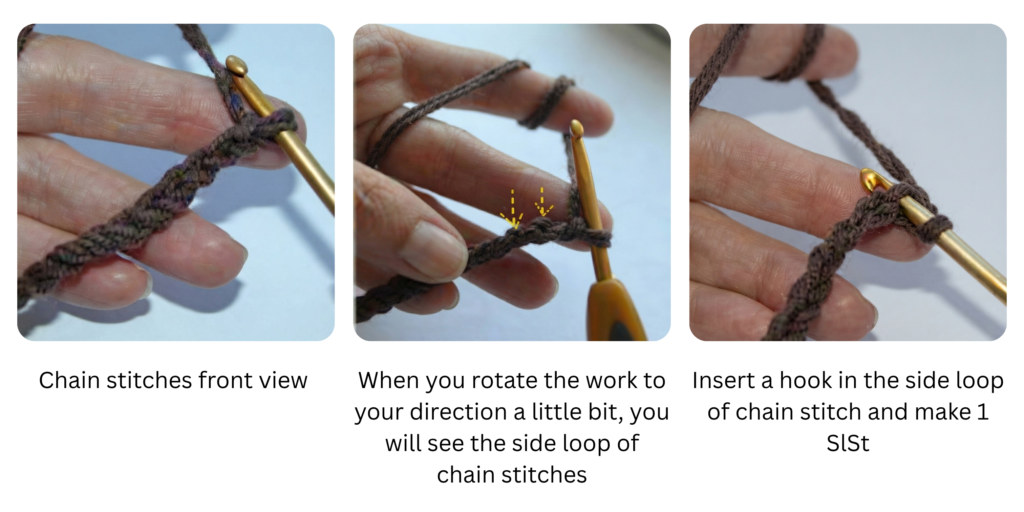
Sew the handle in the middle of the purse. Use common sewing thread and needle.
Strawberry
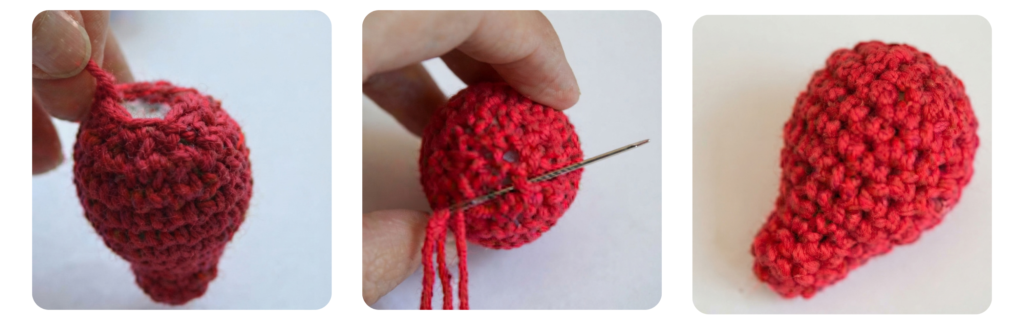
Use red yarn, hook 3 mm. Make 2 same strawberries. Crochet in circle spiral rounds, it means, that you will not join the rounds and you will not turn the work at the end of the round.
Round 1: CH 2, 7 SC in second stitch from the hook (7 SC)
Round 2 – 3: 1 SC in each stitch around (7 SC)
Round 4: [inc, 1 SC in next stitch] – repeat 2 times totally, 1 SC in next 3 stitches (9 SC)
Round 5: [inc, 1 SC in next 2 stitches] – repeat 2 times totally, 1 SC in next 3 stitches(11 SC)
Round 6: [inc, 1 SC in next 3 stitches] – repeat 2 times totally, 1 SC in next 3 stitches (13 SC). Fill the strawberry with the toy filling as you go.
Round 7: [inc, 1 SC in next 3 stitches] – repeat 3 times totally, 1 SC in next stitch (16 SC)
Round 8-10: 1 SC in each stitch around (16 SC)
Round 11: [dec, 1 SC in next stitch] – repeat 5 times totally, 1 SC in next stitch (11 SC)
Round 12: [dec] – repeat 5 times totally, 1 SlSt in next stitch (6 stitches), end the work. Sew the rest of the stitches.
Leaf and Stem
Leaf
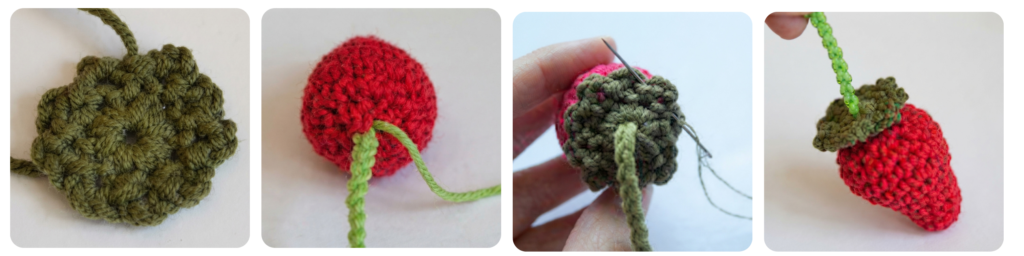
Make two same leaves. Use dark green yarn, hook 3 mm. Crochet in the circle.
Beginning: CH 4, join first stitch with 1 SlSt and make a ring.
Round 1: 9 SC in the middle of the ring, 1 SlSt in first stitch of the round (9 SC)
Round 2: [CH 2, 1 SlSt in next stitch] – repeat 9 times totally, end the work.
Stem
Use hot green yarn, insert a hook in the middle of the strawberry and crochet CH 16, end the work. Pull the stem through the middle of the leaf and sew the leaf on the strawberry. The stem of second strawberry is CH 18.
Bow
Use red yarn, hook 3 mm.
Beginning: CH 13
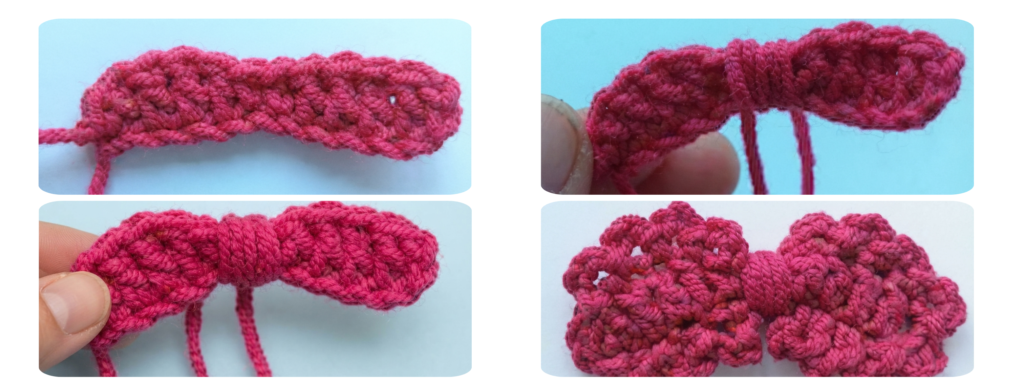
Row 1: insert hook in fourth stitch from the hook and make 1 DC, 1 DC in next 3 stitches, 1 SC in next 2 stitches, 1 DC in next 3 stitches, 1 DC + 1 SlSt in next stitch, end the work.
Fasten free threads.
Cut about 20 cm (7,8 inches) of red yarn and tie the yarn around the middle of the bowseveral times (part of SC). Make the knot on the back side. Neaten free threads.
Crochet one row around both parts of the bow separately. Insert a hook in very first stitch next the middle part (it is marked by yellow dot – beginning) and make CH 2, 1 SlSt in next stitch – repeat 8 times totally, end the work. Crochet by the same way on the second part of the bow.
Finishing
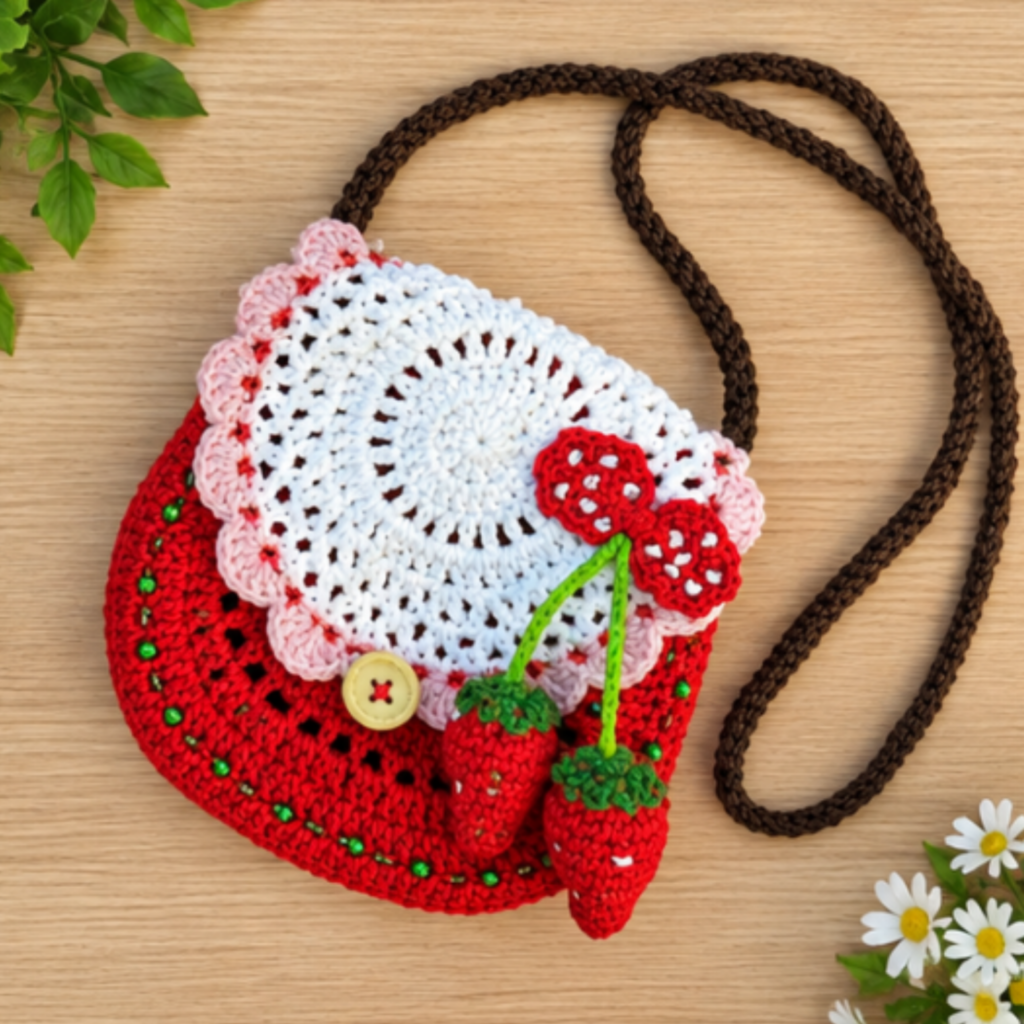
Use white beads average 4 mm/ beads size 6/0 and sew them on the bow. Sew the stems of the strawberries on the reverse side of the bow and then sew the bow on the flap. Sew white, light pink and red beads on the strawberries. Use tapestry needle and sew red beads on theflap, as you see on the picture below. Use red glass beads and green wooden beads and tapestry needle and sew them on the main part of the purse on the front-site. Sew woodenbutton average 1.8 cm /0.7 inches on the main part of the purse, in the middle of round 5 of front side.
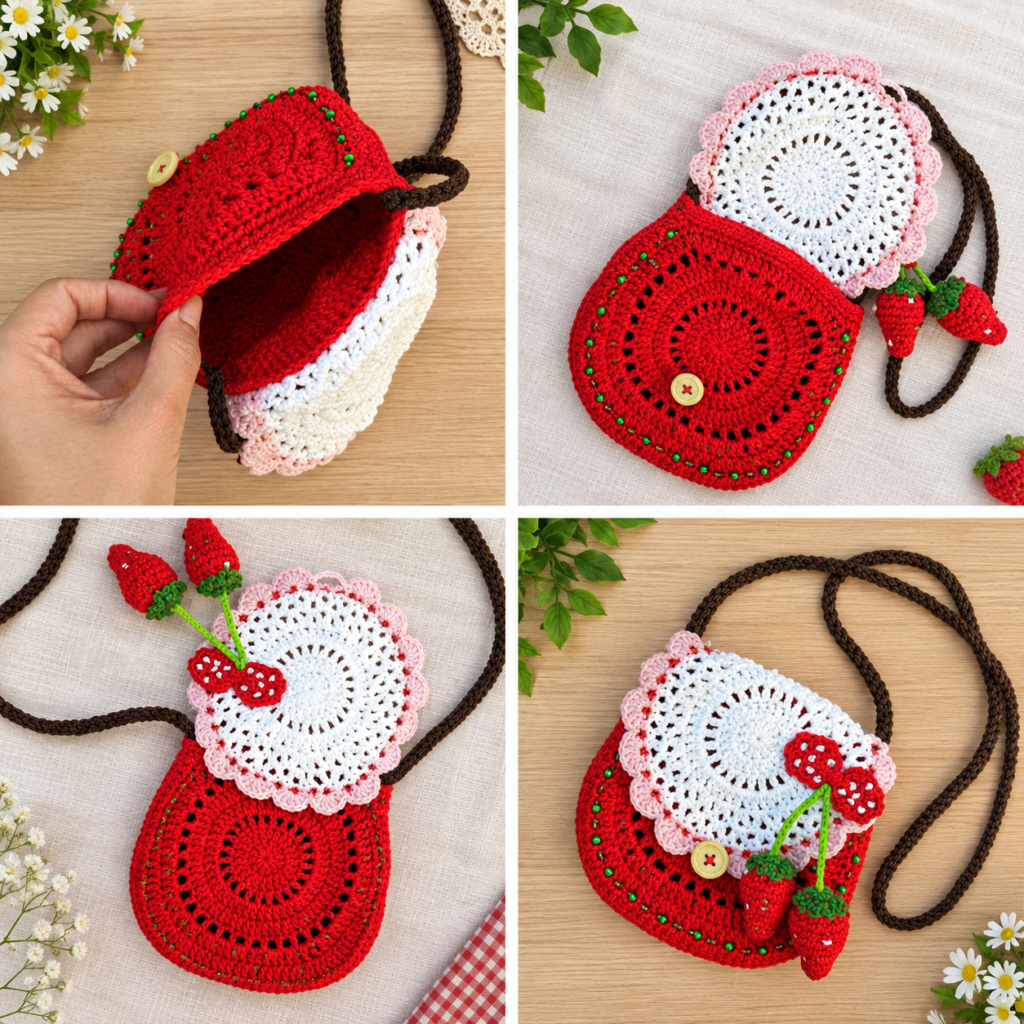
Your strawberry purse is finished. Congratulation
To sum up, this strawberry crochet purse is more than just a cute accessory—it’s a fun and rewarding project that lets you express your creativity while making something truly unique. With its charming design and simple construction, it’s perfect for both beginners and experienced crocheters looking for a quick and satisfying make.
If you enjoyed this pattern, don’t stop here! Be sure to explore more amigurumi patterns on our blog, where you’ll find a variety of adorable crochet creations—from tiny animals to playful decorative pieces. Each pattern is designed to inspire your next project and help you grow your crochet skills while having fun.
I wish you nice crocheting
Download the Free Pattern
If you prefer to work offline or want a clean, printer-friendly copy of the instructions, you can download the complete pattern right to your device.
- Instant Access: Grab your copy of the Strawberry purse free crochet pattern as a convenient PDF to take with you anywhere.
- Offline Crafting: Keep the step-by-step details handy at your fingertips without needing to stay connected to the internet while you crochet.
Tip: Downloading the PDF is a great way to save this project to your personal library so you can easily reference it whenever you are ready to make another one!