free crochet pattern
by loopia crochet
Pumpkin 1
Materials:
- worsted weight yarn (4), 2 colours
- 3.75 mm crochet hook
- poly-fil stuffing
- tapestry needle
- scissors
Abbreviations:
CH – chain
ST – stitch
SL ST – slip stitch
SC – single crochet
HDC – half double crochet
SCBLO – single crochet back loop only
HDC BLO – half double crochet back loop only
Size:
ca. 4″ x 2″
Pattern:
CH 21
Row 1: SC in the 2nd CH from the hook, SC in next CH, HDC in each of the next 16 CH, SC in each of the last 2 CH. CH 1, TURN (20)
Row 2-23: SCBLO in each of the first 2 STS, HDCBLO in each of the next 16 STS, SCBLO in each of the last 2 STS. CH 1, TURN (20)
Row 24: SCBLO in each of the first 2 STS, HDCBLO in each of the next 16 STS, SCBLO in each of the last 2 STS. Continue with seaming! (Page 3)
Stem:
In a magic ring, SC 8. Join with SL ST, CH 1 (8)
Round 1: 2 SC in each ST. Join with SL ST. (16)
Do not finish off. CH 8, SL ST in the 2nd CH from the hook and in the next 3 CH. Finish off, cut yarn leaving a long tail.
Pull the stem through the center of the circle. (See pictures on page 4.)
Seaming:
– Fold your rectangle to line up the two shorter edges and SL ST them together. *Fasten off leaving a long tail.*
– Turn your piece right side out, so the slip stitched seam is on the inside.
– Using the tapestry needle, seam the open part by weaving your needle in and out along the SC stitches.
– Gather tightly, fasten off, cut yarn.
– Stuff the pumpkin *(do not overstuff)*.
– Gather the top with the thread the same way as the bottom.
– Pull the yarn tight. With the needle go back and forth from top to bottom a few times, so you get the desired pumpkin shape.
– Weave on the stem and enjoy your cute little pumpkin!
Pumkin 2
Materials Needed:
- Worsted weight yarn:
Orange, Brown, Green - Poly-fill stuffing
Equipment Needed:
- Size 2.75mm Crochet Hook
- Scissors
- Yarn needle
- Stitch marker (optional)
Abbreviations: Pattern is in US Crochet Terms
ch: chain stitch
st: stitch
sc: single crochet
(*) when you see instructions written between parenthesis you will work these instructions as many times as the pattern tells you to.
inc: single crochet increase
dec: single crochet decrease
slst: slip stitch
BLO: back loops only
FLO: front loops only
FO: fasten off
Designer Note:
When I crochet amigurumi I let the wrong side face outwards. All the photos you will see in this tutorial are worked this way and it is my personal preference when it comes to making amigurumi. If you choose to crochet with the traditional right side facing outwards there will be no significant difference regarding how the finished piece will turn out so feel free to crochet this amigurumi however you like.
Be aware that when you work with the wrong side out the front and back loops of a stitch will be reversed. When you see instructions written as “FLO (BLO)” in this pattern you will work what is before the () if you are crocheting with the right side out, and you will work what is in the () if you are working with the wrong side facing out.
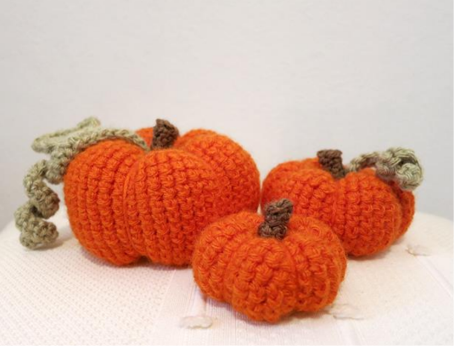
Pumpkin: Small (in orange yarn)
Rnd 1: start 5 sc in a magic ring [5]
Rnd 2: inc 5 times [10]
Rnd 3: (inc, sc in next st) repeat 5 times [15]
Rnd 4: (inc, sc in next 2 st) repeat 5 times [20]
Rnd 5: (inc, sc in next 3 st) repeat 5 times [25]
Rnd 6-8: sc in all 25 st [25]
Rnd 9: (dec, sc in next 3 st) repeat 5 times [25]
Rnd 10: (dec, sc in next 2 st) repeat 5 times [15]
Rnd 11: (dec, sc in next st) repeat 5 times [10]
Rnd 12: dec 5 times [5] → FO with at least 12 inches of yarn. Weave yarn tail through last 5 stitches and pull tight to close. Do not weave in the yarn tail yet.
Pumpkin: Medium (in orange yarn)
Rnd 1: start 7 sc in a magic ring [7]
Rnd 2: inc 7 times [14]
Rnd 3: (inc, sc in next st) repeat 7 times [21]
Rnd 4: (inc, sc in next 2 st) repeat 7 times [28]
Rnd 5: (inc, sc in next 3 st) repeat 7 times [35]
Rnd 6-11: sc in all 25 st [35]
Rnd 12: (dec, sc in next 3 st) repeat 7 times [28]
Rnd 13: (dec, sc in next 2 st) repeat 7 times [21]
Rnd 14: (dec, sc in next st) repeat 7 times [14]
Rnd 15: dec 7 times [7] → FO with at least 24 inches of yarn. Weave yarn tail through last 7 stitches and pull tight to close. Do not weave in the yarn tail yet.
Pumpkin: Large (in orange yarn)
Rnd 1: start 8 sc in a magic ring [8]
Rnd 2: inc 8 times [16]
Rnd 3: (inc, sc in next st) repeat 8 times [24]
Rnd 4: (inc, sc in next 2 st) repeat 8 times [32]
Rnd 5: (inc, sc in next 3 st) repeat 8 times [40]
Rnd 6: (inc, sc in next 4 st) repeat 8 times [48]
Rnd 7-18: sc in all 25 st [48]
Rnd 19: (dec, sc in next 4 st) repeat 8 times [40]
Rnd 20: (dec, sc in next 3 st) repeat 8 times [32]
Rnd 21: (dec, sc in next 2 st) repeat 8 times [24]
Rnd 22: (dec, sc in next st) repeat 8 times [16]
Rnd 23: dec 8 times [8] → FO with at least 24 inches of yarn. Weave yarn tail through last 8 stitches and pull tight to close. Do not weave in the yarn tail yet.
Finishing the Pumpkin:
To finish the pumpkin take your yarn end and go around the outside of the pumpkin and weave it back through the center. Give the yarn a nice tug to create an indented section to your pumpkin. Repeat 5 more times for a total of 6 sections. For each section you can thread the yarn back through multiple times for a more obvious segmented look.
Different Sizes:
To get different sized pumpkins besides the ones mentioned on this page you can try experimenting with larger or smaller sized crochet hooks. Increasing the amount of single crochet rounds you work before decreasing will give you a taller pumpkin.
Stem: Small (in brown yarn)
Rnd 1: start 4 sc in a magic ring [4]
Rnd 2: BLO (FLO) sc in all 4 st [4]
Rnd 3: sc in all 4 st [4] → FO Leave long enough end of yarn for sewing. Without stuffing sew stem onto small pumpkin.
Stem: Medium (in brown yarn)
Rnd 1: start 5 sc in a magic ring [5]
Rnd 2: BLO (FLO) sc in all 5 st [5]
Rnd 3-4: sc in all 5 st [5] → FO Leave long enough end of yarn for sewing. Without stuffing sew stem onto medium pumpkin.
Stem: Large (in brown yarn)
Rnd 1: start 6 sc in a magic ring [6]
Rnd 2: BLO (FLO) sc [6]
Rnd 3-5: sc [6] → FO Leave long enough end of yarn for sewing. Without stuffing sew stem onto large pumpkin.
Vines (in green yarn)
Vines can be made any length you want. Simply make a chain the length you want plus a bit extra to make up for the curl that will happen. Single crochet into the second stitch from the hook and single crochet the rest of the chain. It will naturally want to curl on its own.
Leaf (in green yarn)
Row 1: start 8 sc in a magic ring. [8]
Do NOT slst into the first sc, instead ch1 and turn.
Row 2: * sc, hdc, dc, tc into first st. dc, hdc, sc into next st. slst into third stitch. Repeat from* 2 more times to make a 3 tipped leaf. slst into the first sc of this row. Ch 2 → FO
INSTANT DOWNLOAD
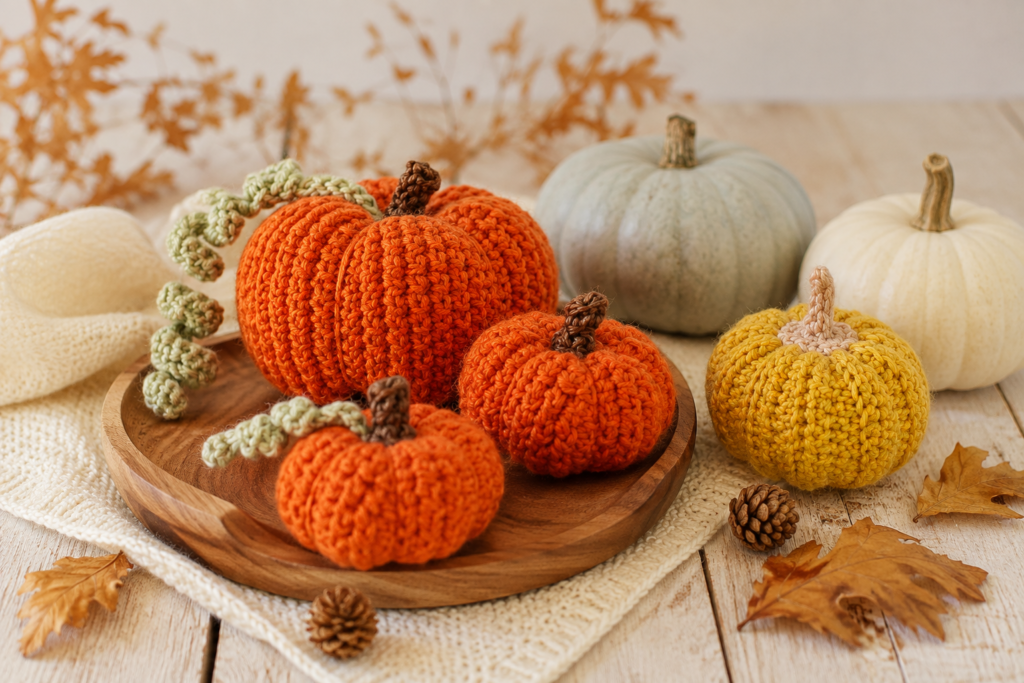
Bring cozy autumn charm into your space with these handcrafted yarn pumpkins! This detailed pattern includes photo tutorials to guide you through making all your cute fall decorations. Skill level: Easy.
What is included?
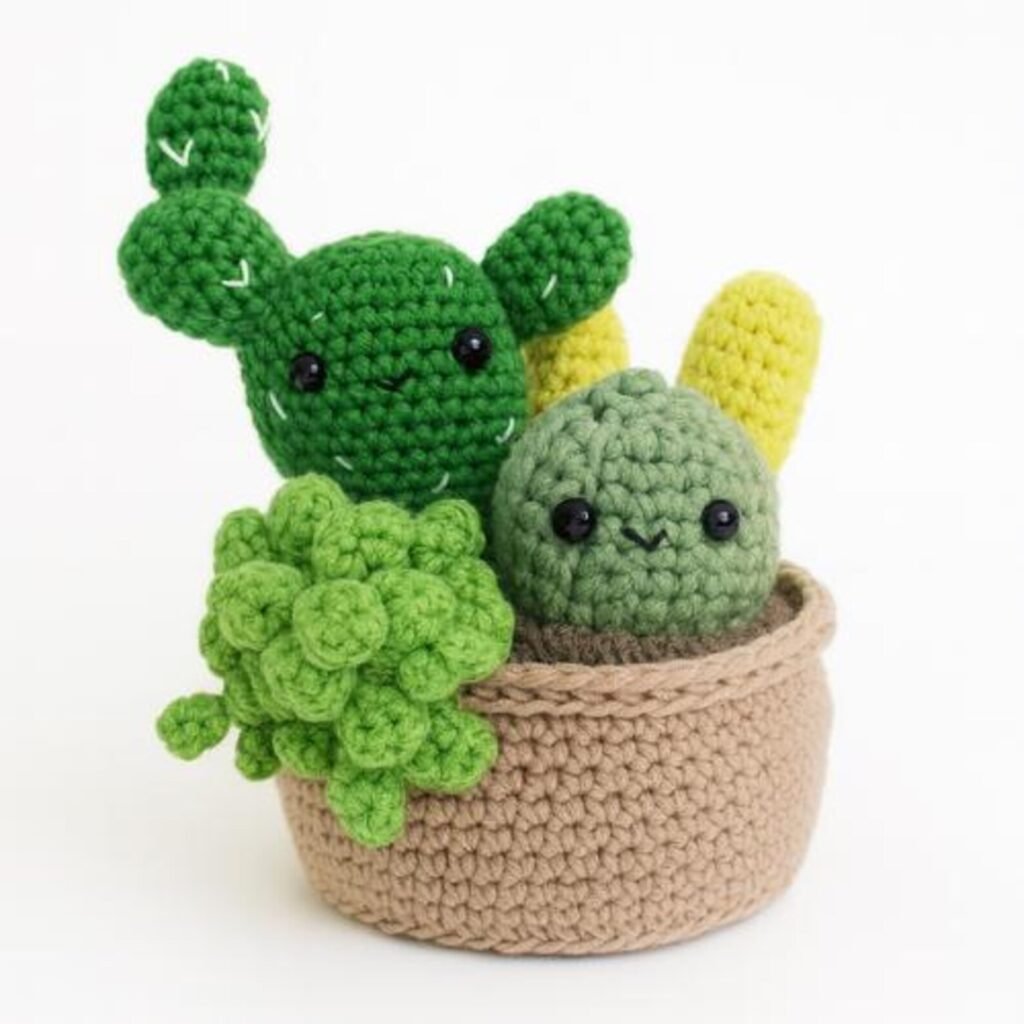
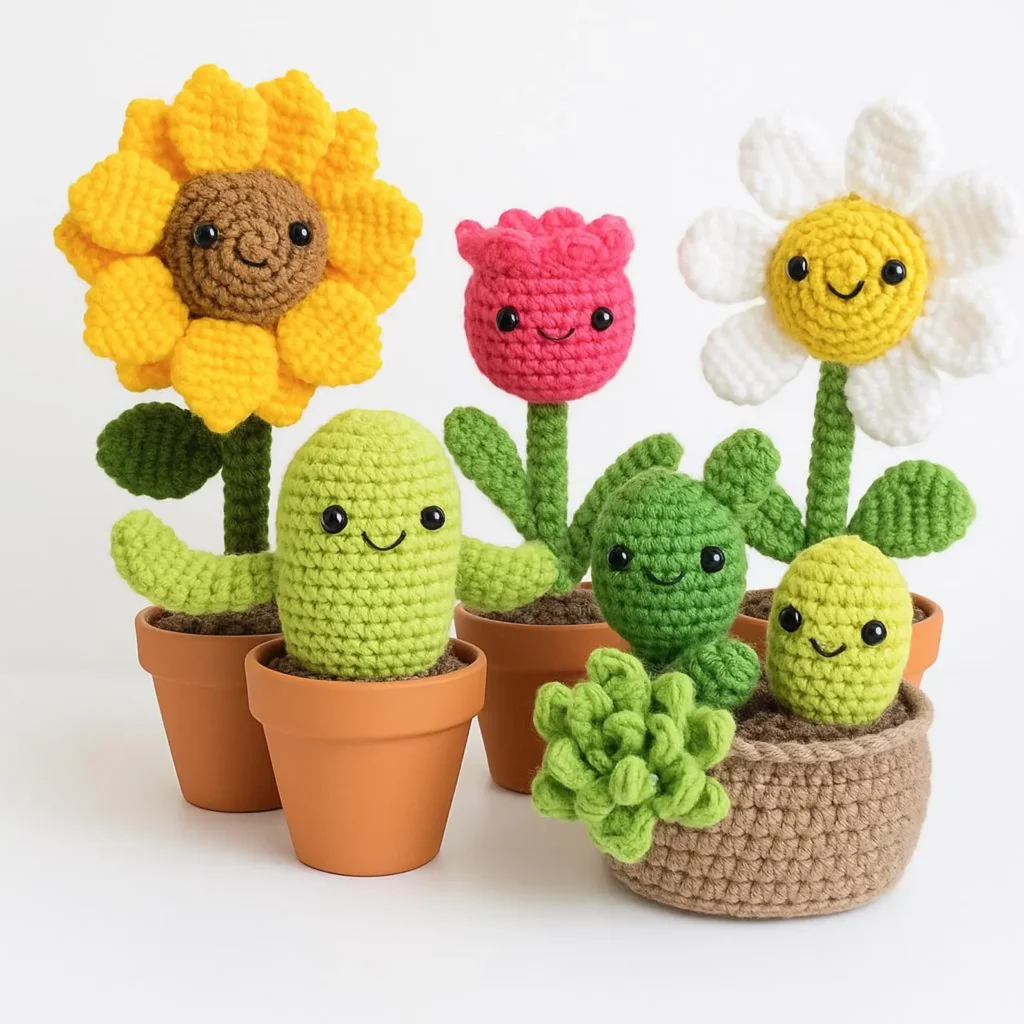
Classic Cactus, Succulent Planter Set (Prickly Pear, Barrel Cactus, Lady Finger, & String of Pearls), Sunflower, Daisy, and Tulip.