The Yeti, often referred to as the Abominable Snowman, is one of the most iconic mythical creatures in folklore. Said to inhabit the snow-covered peaks of the Himalayas, this legendary beast has sparked imaginations for centuries. Described as a tall, ape-like figure cloaked in white or gray fur, the Yeti symbolizes the mystery and majesty of nature itself. Despite the lack of scientific proof, stories of sightings and strange footprints in the snow keep the legend alive—and now, you can bring a piece of that legend into your home in the form of a soft, huggable crochet plush.
In this blog post, we’re diving into a free, fully detailed crochet pattern that walks you through making your very own Yeti amigurumi. Whether you’re an experienced crocheter or just beginning your amigurumi journey, this pattern offers a fun and fulfilling project that’s sure to charm kids, collectors, and handmade toy lovers alike.
Meet the Yeti: Final Size and Features
The finished amigurumi Yeti stands approximately 7 inches tall and 6 inches wide—a perfect handheld size that makes it an ideal shelf buddy, plushie pal, or even nursery decor. With a chubby, oval body, adorable face, pastel green horns, and plush arms and legs, this Yeti has a gentle, happy expression that gives it a magical personality.
It’s a mythical beast made lovable and approachable through crochet, with every detail—from its tiny toes to its expressive safety eyes—carefully designed to be both visually appealing and beginner-friendly to stitch.
Premuim Patterns:
Craft your own collection
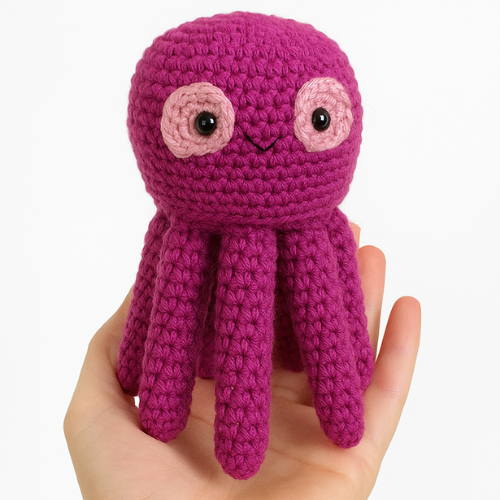
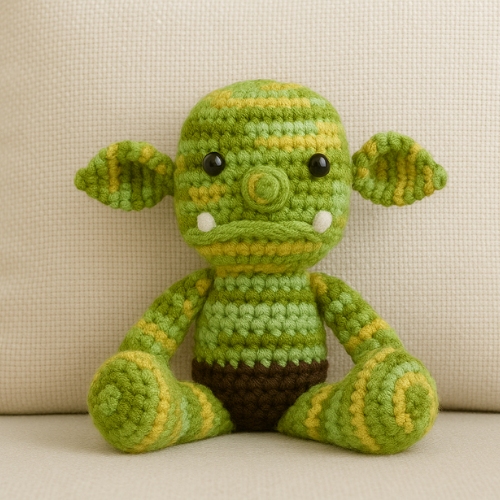
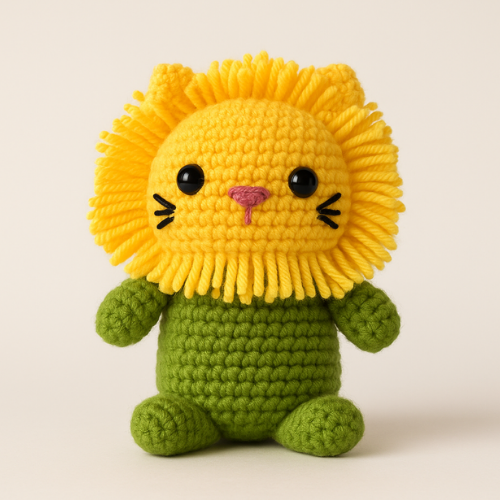
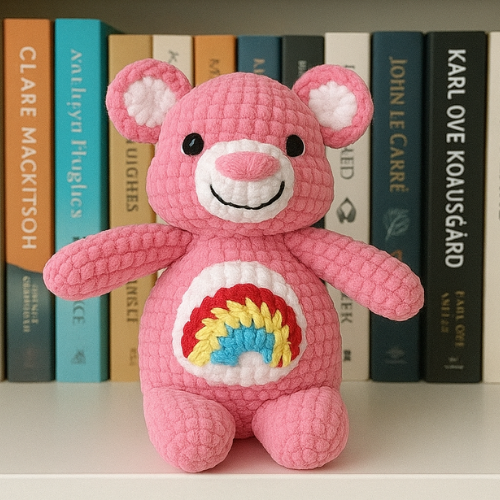
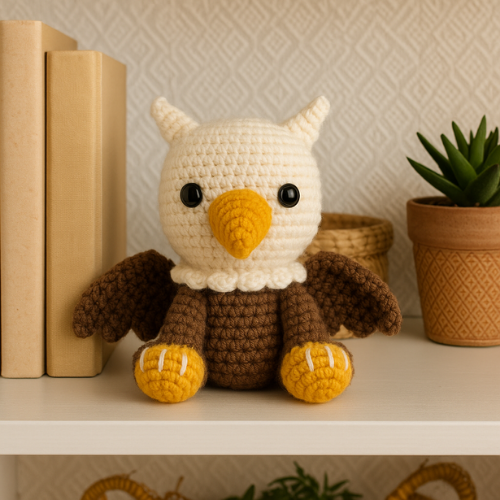
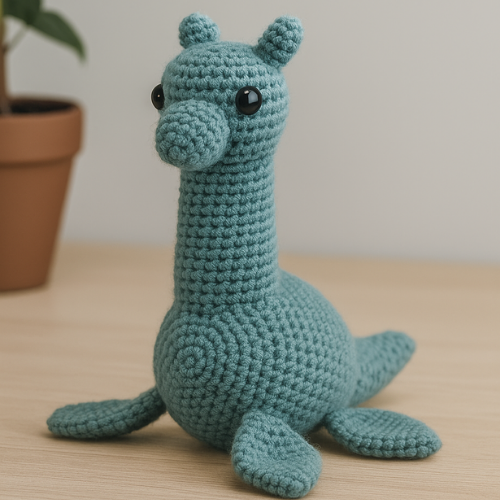
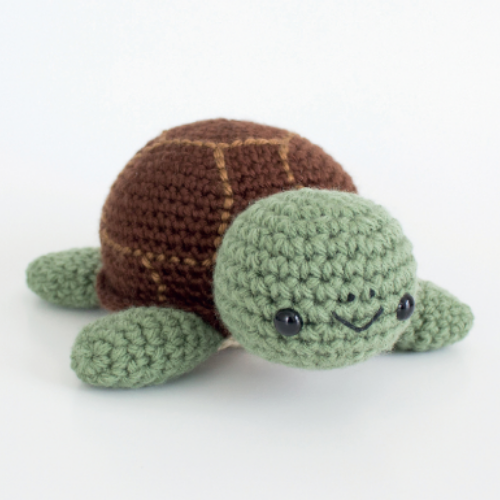
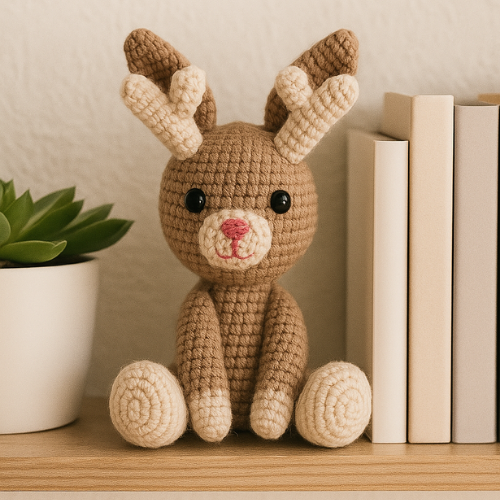
Bring these four adorable characters to life with our premium patterns! Whether you want to crochet a plush puppy, a cuddly bunny, a wise little turtle, or a one-of-a-kind llama, our expertly designed patterns provide everything you need. Each guide is meticulously crafted to ensure a fun and rewarding experience, from the first stitch to the final piece. Ready to create your new favorite amigurumi?
Materials You’ll Need
Before you begin, gather the following tools and materials:
- Yarn:
- Caron One Pound – White: This forms the base for the head and body.
- Caron One Pound – Pale Green: Used for the face, horns, arms, and feet.
- Caron One Pound – Black: A small amount needed for embroidering the smile.
- Crochet Hook: US 7 (4.5 mm)
- Safety Eyes: 14 mm black safety eyes
- Stuffing: Polyester fiberfill
- Tapestry Needle: For assembly and embroidery
- Scissors & Stitch Markers: Essential tools for clean work and keeping track of rounds
Tip: Caron One Pound yarn is a great choice for amigurumi because of its durability and vibrant colors. It also holds its shape well with stuffing.
Crochet Skills Required
If you’re familiar with the basics of amigurumi, you’re already prepared to tackle this pattern! The stitches used are:
- Magic Ring: To start each piece cleanly and seamlessly.
- Single Crochet (sc): The core stitch for shaping.
- Double Crochet (dc): Used for toe texture.
- Popcorn Stitch (pc): Adds delightful detail to the feet.
- Increase (inc) and Invisible Decrease (dec): For shaping and smooth transitions.
Even if some of these techniques are new to you, don’t worry—there are plenty of online tutorials and videos to help you along the way.
Premium Patterns:
Step-by-Step Guide: Body Parts Breakdown
Let’s walk through how each part of this cute Yeti is made.
1. Head and Body (White)
The Yeti’s body is worked from the top of the head downward as a continuous piece. You’ll begin with a magic ring and increase through several rounds to shape a round head. Once you reach the desired head size, the pattern narrows slightly before expanding again to create the torso.
You’ll then:
- Maintain consistent stitch counts for several rounds to form a smooth cylindrical body.
- Gradually decrease toward the base.
- Stuff as you go—particularly the head and shoulders—to ensure firmness and shape.
Finally, you’ll close the body with invisible decreases and weave in the yarn end securely.
2. Face (Pale Green)
The face is created separately in an oval shape and attached later. It uses:
- A clever increase pattern that results in a soft, rounded oval.
- Precise eye placement: Insert 14 mm safety eyes between rounds 4 and 5, evenly spaced.
- A simple embroidered mouth using black yarn stitched into a wide “V” for a cheerful smile.
Leave a long tail to sew the face onto the head later. This separate piece gives the Yeti a lot of personality and dimension.
3. Horns (Pale Green)
Each horn is made with just a few rounds of single crochet:
- Begin with a small magic ring, and increase to 8 stitches.
- No shaping is required beyond the initial rounds—the natural curve comes from placement.
- Lightly stuff each horn and leave a tail for sewing.
When attached, they should curve slightly inward toward the face for a whimsical look.
4. Arms (Pale Green & White)
The arms start with pale green and switch to white for the upper portion:
- Begin with a magic ring and increase to form a short tube.
- The switch in yarn color adds visual interest and ties into the body.
- Lightly stuff the lower part only, leaving the top flat for easier sewing.
- They are sewn on at a slight diagonal, angled forward for a welcoming gesture.
5. Feet (Pale Green)
These feet are some of the most fun parts to make:
- Begin with an oval base using increases.
- Add popcorn stitches to form the toes—there are four toe bumps per foot.
- Decrease and stuff to form a rounded heel.
- They are attached so the toes point up and the heels rest on the surface.
Feet are placed approximately 5 stitches apart to keep the plush well-balanced when sitting.

6. Assembly Instructions
Once you’ve completed all parts, it’s time to bring your Yeti to life!
Face Attachment
Place the face so that:
- The bottom is 1 round above the neck.
- The top is 6 rounds down from the top of the head.
- Make sure it’s centered!
Use the long tail and tapestry needle to stitch it securely.
Horn Placement
- Each horn should be placed 4 rounds from the center of the head.
- Curve them inward to give your Yeti that signature look.
Arm Placement
- Attach the arms one round below the neck’s narrowest part.
- Angle them slightly forward for a friendly pose.
Feet Attachment
- Position the feet upright with the heels flat on a surface and toes up.
- Attach them where the last round of each foot meets the body.
- They should be centered, about 5 stitches apart.
Final Touch: Give everything one final squish to make sure the stuffing is evenly distributed and the limbs feel symmetrical.