Free Amigurumi Bear Pattern
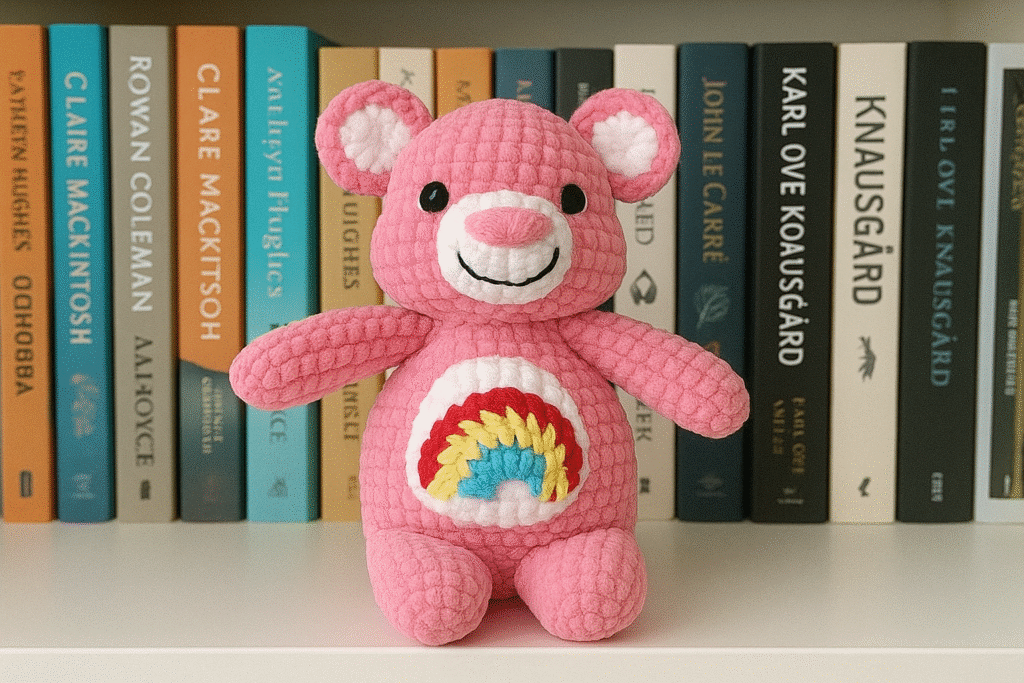
This pattern creates a cuddly bear with a rainbow belly patch, perfect for snuggling.
Materials Needed
- Yarn:
- Main color: Velvet or Chenille yarn in pink (e.g., Himalaya Dolphin Baby or Bernat Blanket Yarn)
- Accent colors: White (snout, ears, belly), black (eyebrows/eyes), pink (nose), red, yellow, and blue (for rainbow)
- Hook size: 4.0 mm (adjust based on yarn thickness)
- Safety eyes (optional): 12 mm, or embroider eyes for baby safety
- Stuffing: Polyester fiberfill
- Tapestry needle
- Scissors
- Stitch marker
Basic Stitches & Abbreviations (US terms)
- MR – Magic Ring
- ch – Chain
- sc – Single crochet
- inc – Increase (2 sc in one stitch)
- dec – Decrease (sc 2 together)
- sl st – Slip stitch
- FO – Fasten off
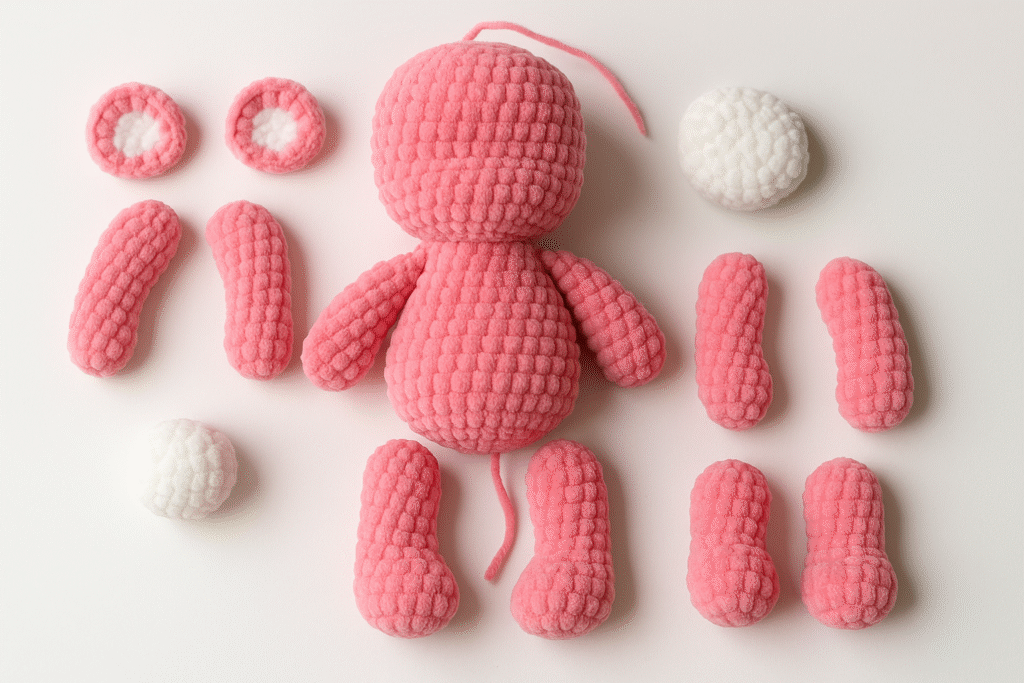
Bear Body Parts (Make in this order)
Head & Body (worked in one piece)
With pink yarn:
- R1: MR, 6 sc [6]
- R2: inc around [12]
- R3: (sc, inc) x6 [18]
- R4: (2 sc, inc) x6 [24]
- R5: (3 sc, inc) x6 [30]
- R6-12: sc around [30]
- R13: (3 sc, dec) x6 [24]
- R14: (2 sc, dec) x6 [18]
- Start stuffing the head
- R15: (sc, dec) x6 [12]
- R16: inc around [24]
- R17: (3 sc, inc) x6 [30]
- R18-25: sc around [30]
- R26: (3 sc, dec) x6 [24]
- R27: (2 sc, dec) x6 [18]
- Stuff body firmly
- R28: (sc, dec) x6 [12]
- R29: dec around [6]
- FO and weave in end.
Arms (make 2)
With pink yarn:
- R1: MR, 6 sc [6]
- R2: inc around [12]
- R3-8: sc around [12]
- R9: (2 sc, dec) x3 [9]
- Stuff lightly
- R10: sc around [9]
- FO, leave tail for sewing.
Legs (make 2)
With pink yarn:
- R1: MR, 6 sc [6]
- R2: inc around [12]
- R3-6: sc around [12]
- R7: (2 sc, dec) x3 [9]
- Stuff firmly
- FO, leave long tail for sewing.
Ears (make 2)
Inner (white):
- R1: MR, 6 sc [6]
- R2: (sc, inc) x3 [9]
- FO, leave short tail.
Outer (pink):
- R1: MR, 6 sc [6]
- R2: (sc, inc) x3 [9]
- Do not FO. Hold white inner against pink and crochet around both with sc.
- FO, leave tail for sewing.
Snout
With white yarn:
- R1: MR, 6 sc [6]
- R2: inc around [12]
- R3: (sc, inc) x6 [18]
- R4: sc around [18]
- Lightly stuff and FO, leave long tail.
Rainbow Belly Patch
Make Semicircle Arcs (worked in rows):
Each color is a row. Use red, yellow, then blue.
Red Arc:
With red:
- Ch 7
- R1: sc in 2nd ch from hook and across [6], turn
- R2: ch 1, inc in each st [12]
- FO.
Yellow Arc:
- Join yellow to first red st.
- R3: ch 1, (sc, inc) across [18]
- FO.
Blue Arc:
- Join blue to yellow edge.
- R4: ch 1, sc across [18] – or crochet around if preferred
- FO, leave long tail for sewing.
N.B: Sew the full rainbow onto a white oval belly patch (use sc oval base: ch 6, sc around with inc on both ends to make oval).
Facial Features
- Eyes: Embroider black ovals or sew on safety eyes between rows 7–8 of the head, approx. 5 stitches apart.
- Eyebrows: Embroider with black yarn above each eye.
- Nose: Embroider a heart shape with pink yarn onto the snout.
- Mouth: Use black yarn to embroider a curved smile beneath the nose.
Assembly Steps
- Sew snout to center of face.
- Attach ears symmetrically to top sides of head.
- Sew arms to body sides.
- Sew legs at bottom of body.
- Stitch belly patch with rainbow onto center of tummy.
- Embroider facial features last for clean visibility.
Tips for Beginners
- Use stitch markers at the start of each round.
- Stuff parts as you go—don’t overstuff arms and legs.
- Use pins to position parts before sewing.
- Use a tapestry needle with a large eye for bulky yarn.
- Practice embroidery stitches separately before doing them on the bear.
Conclusion
This free bear crochet pattern is perfect for adding a soft, colorful friend to your amigurumi collection. With its rainbow belly patch, plush texture, and beginner-friendly instructions, it’s a fun and rewarding project for crafters of all levels. Whether you’re making it as a gift or keeping it for yourself, this cuddly bear is sure to bring smiles.
And if you enjoyed this pattern, don’t miss our free griffin pattern—a magical creature that pairs perfectly with this sweet bear for a whimsical crochet duo!